
Getting started tips & tricks
Getting started tips & tricks
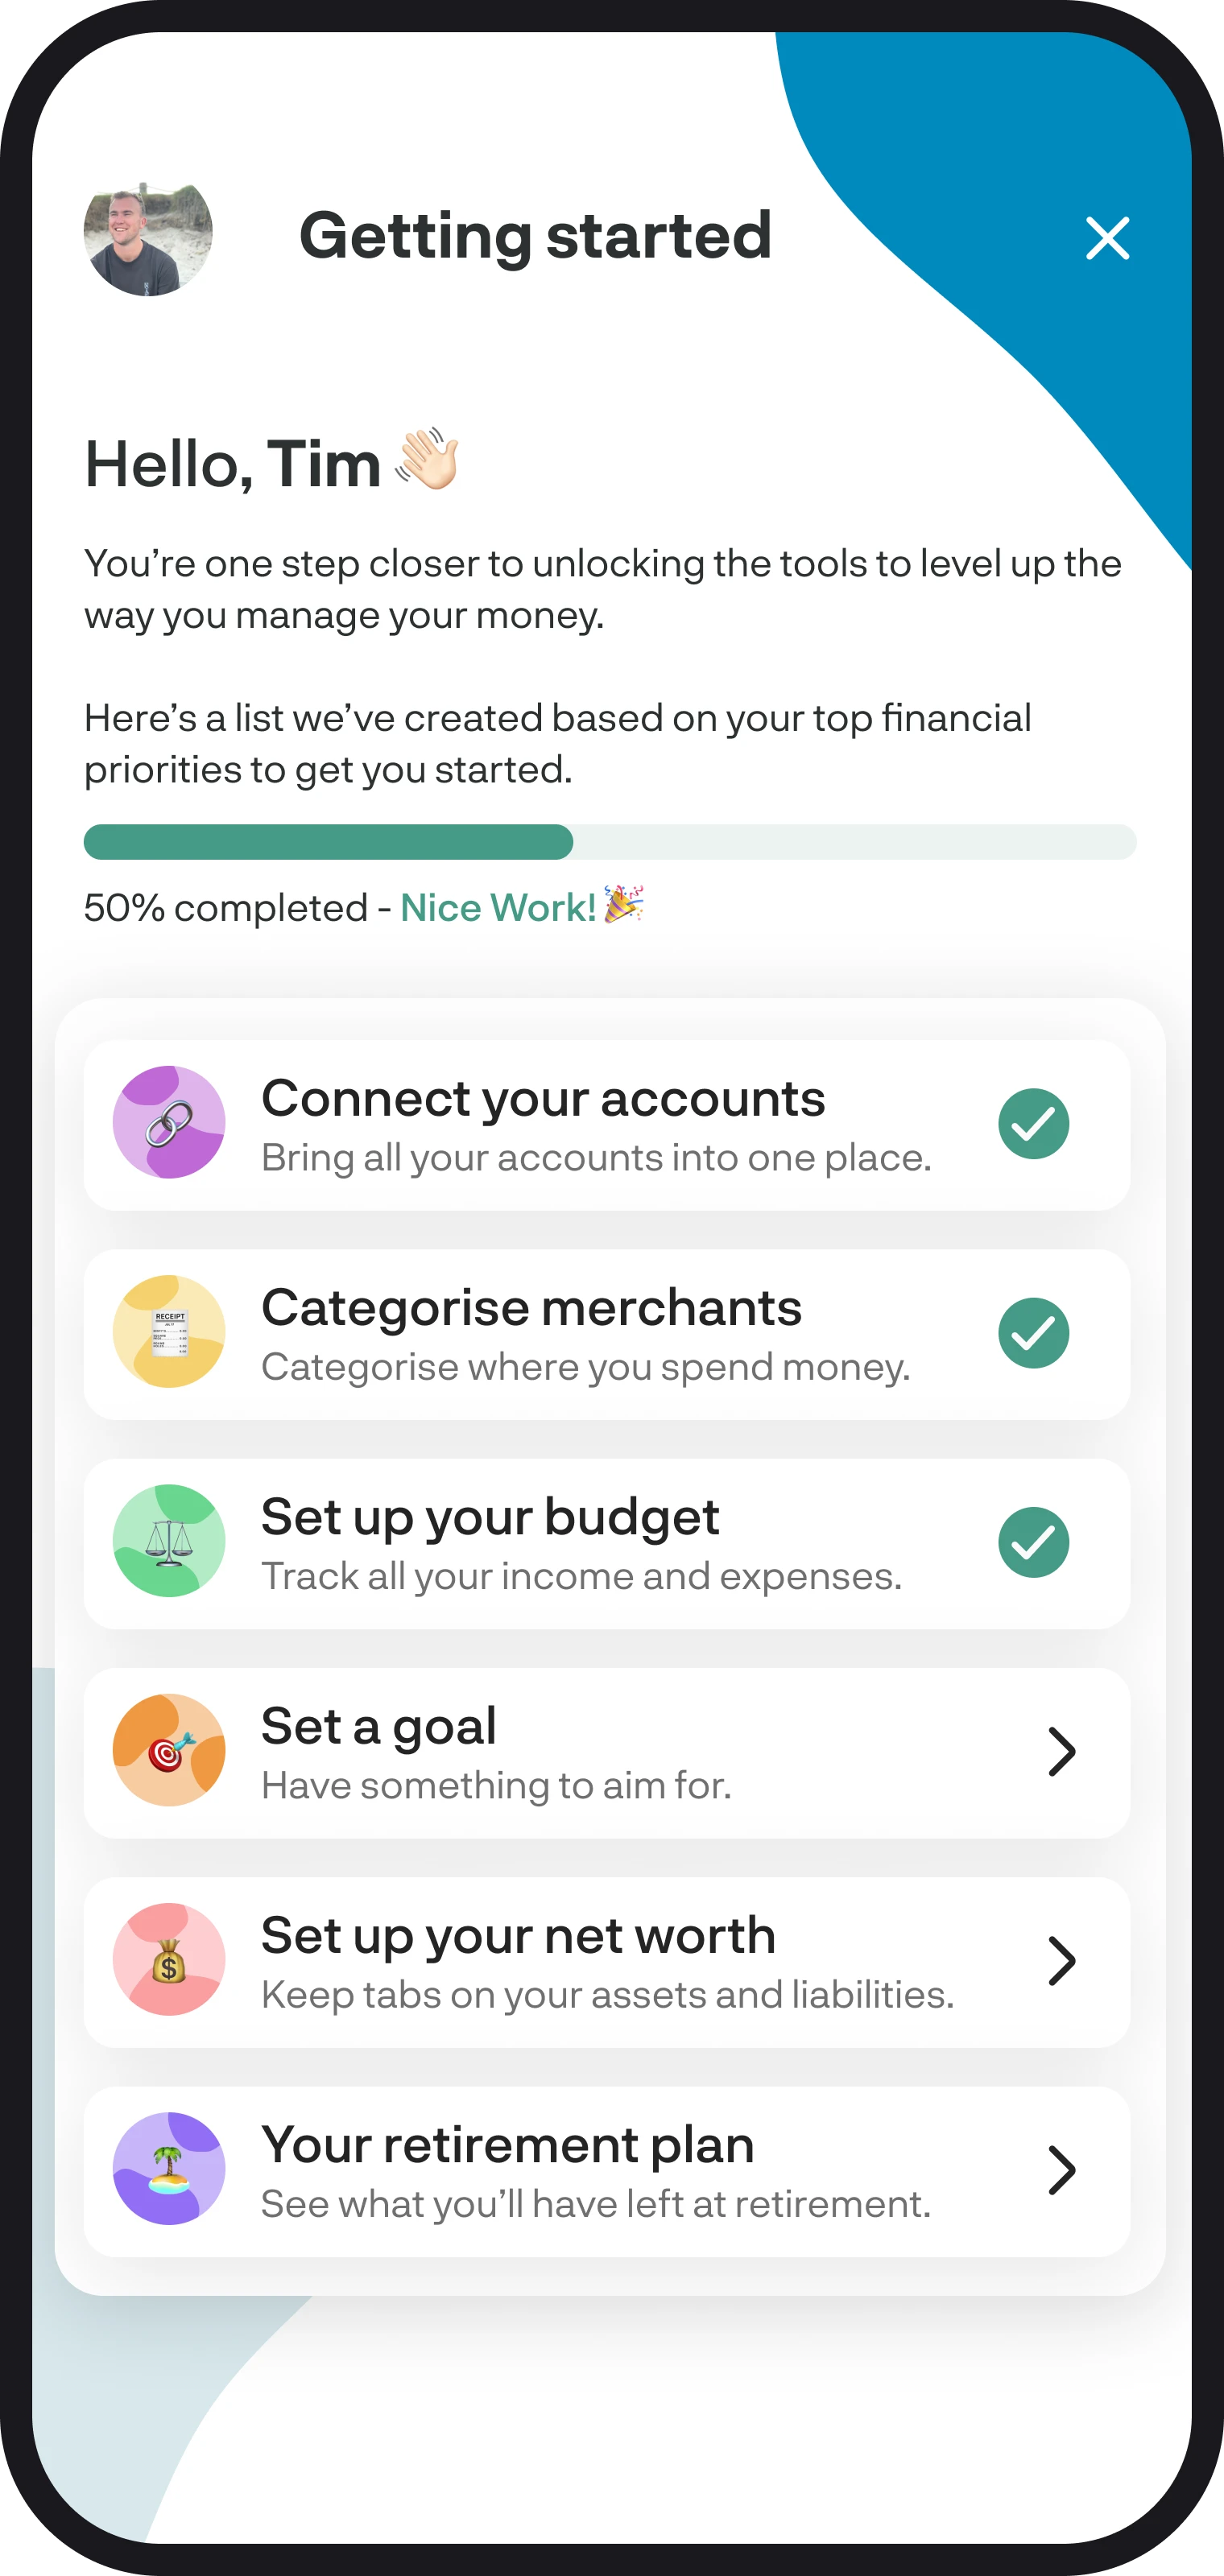
After you tap Finish set up, you land on Home. A welcome popup walks you through the basics. You can go through it, tap Finish and explore yourself, or tap Continue full tour to walk through each feature.
Rule of thumb: Connect accounts first, then categorise. Budgets, leftover, cashflow, and most Home widgets stay empty until transactions have a category.
1. After you finish setup
The popup opens on Home and covers:
- Connect your accounts - banks, KiwiSaver, and share portfolios in one place
- Organise transactions - put uncategorised ones into income or expense categories
- Get insights - see where money goes and how much you earn
- Create your budget - track regular income and spending
On the last card, tap Finish to close it, or Continue full tour to go through each feature in more detail. You can replay the welcome popup any time from the info icon on Home.
2. Connect your accounts
You can connect during signup, or skip and do it later from Connect accounts. Tap a bank, KiwiSaver, or share portfolio, then work through Akahu. When you're done, you'll come back to BudgetBuddie with live balances and transactions.
We organise your merchants and automatically categorise most expense transactions with the default categories from your connected accounts. You can manage or refresh those connections any time.
3. Set up your categories
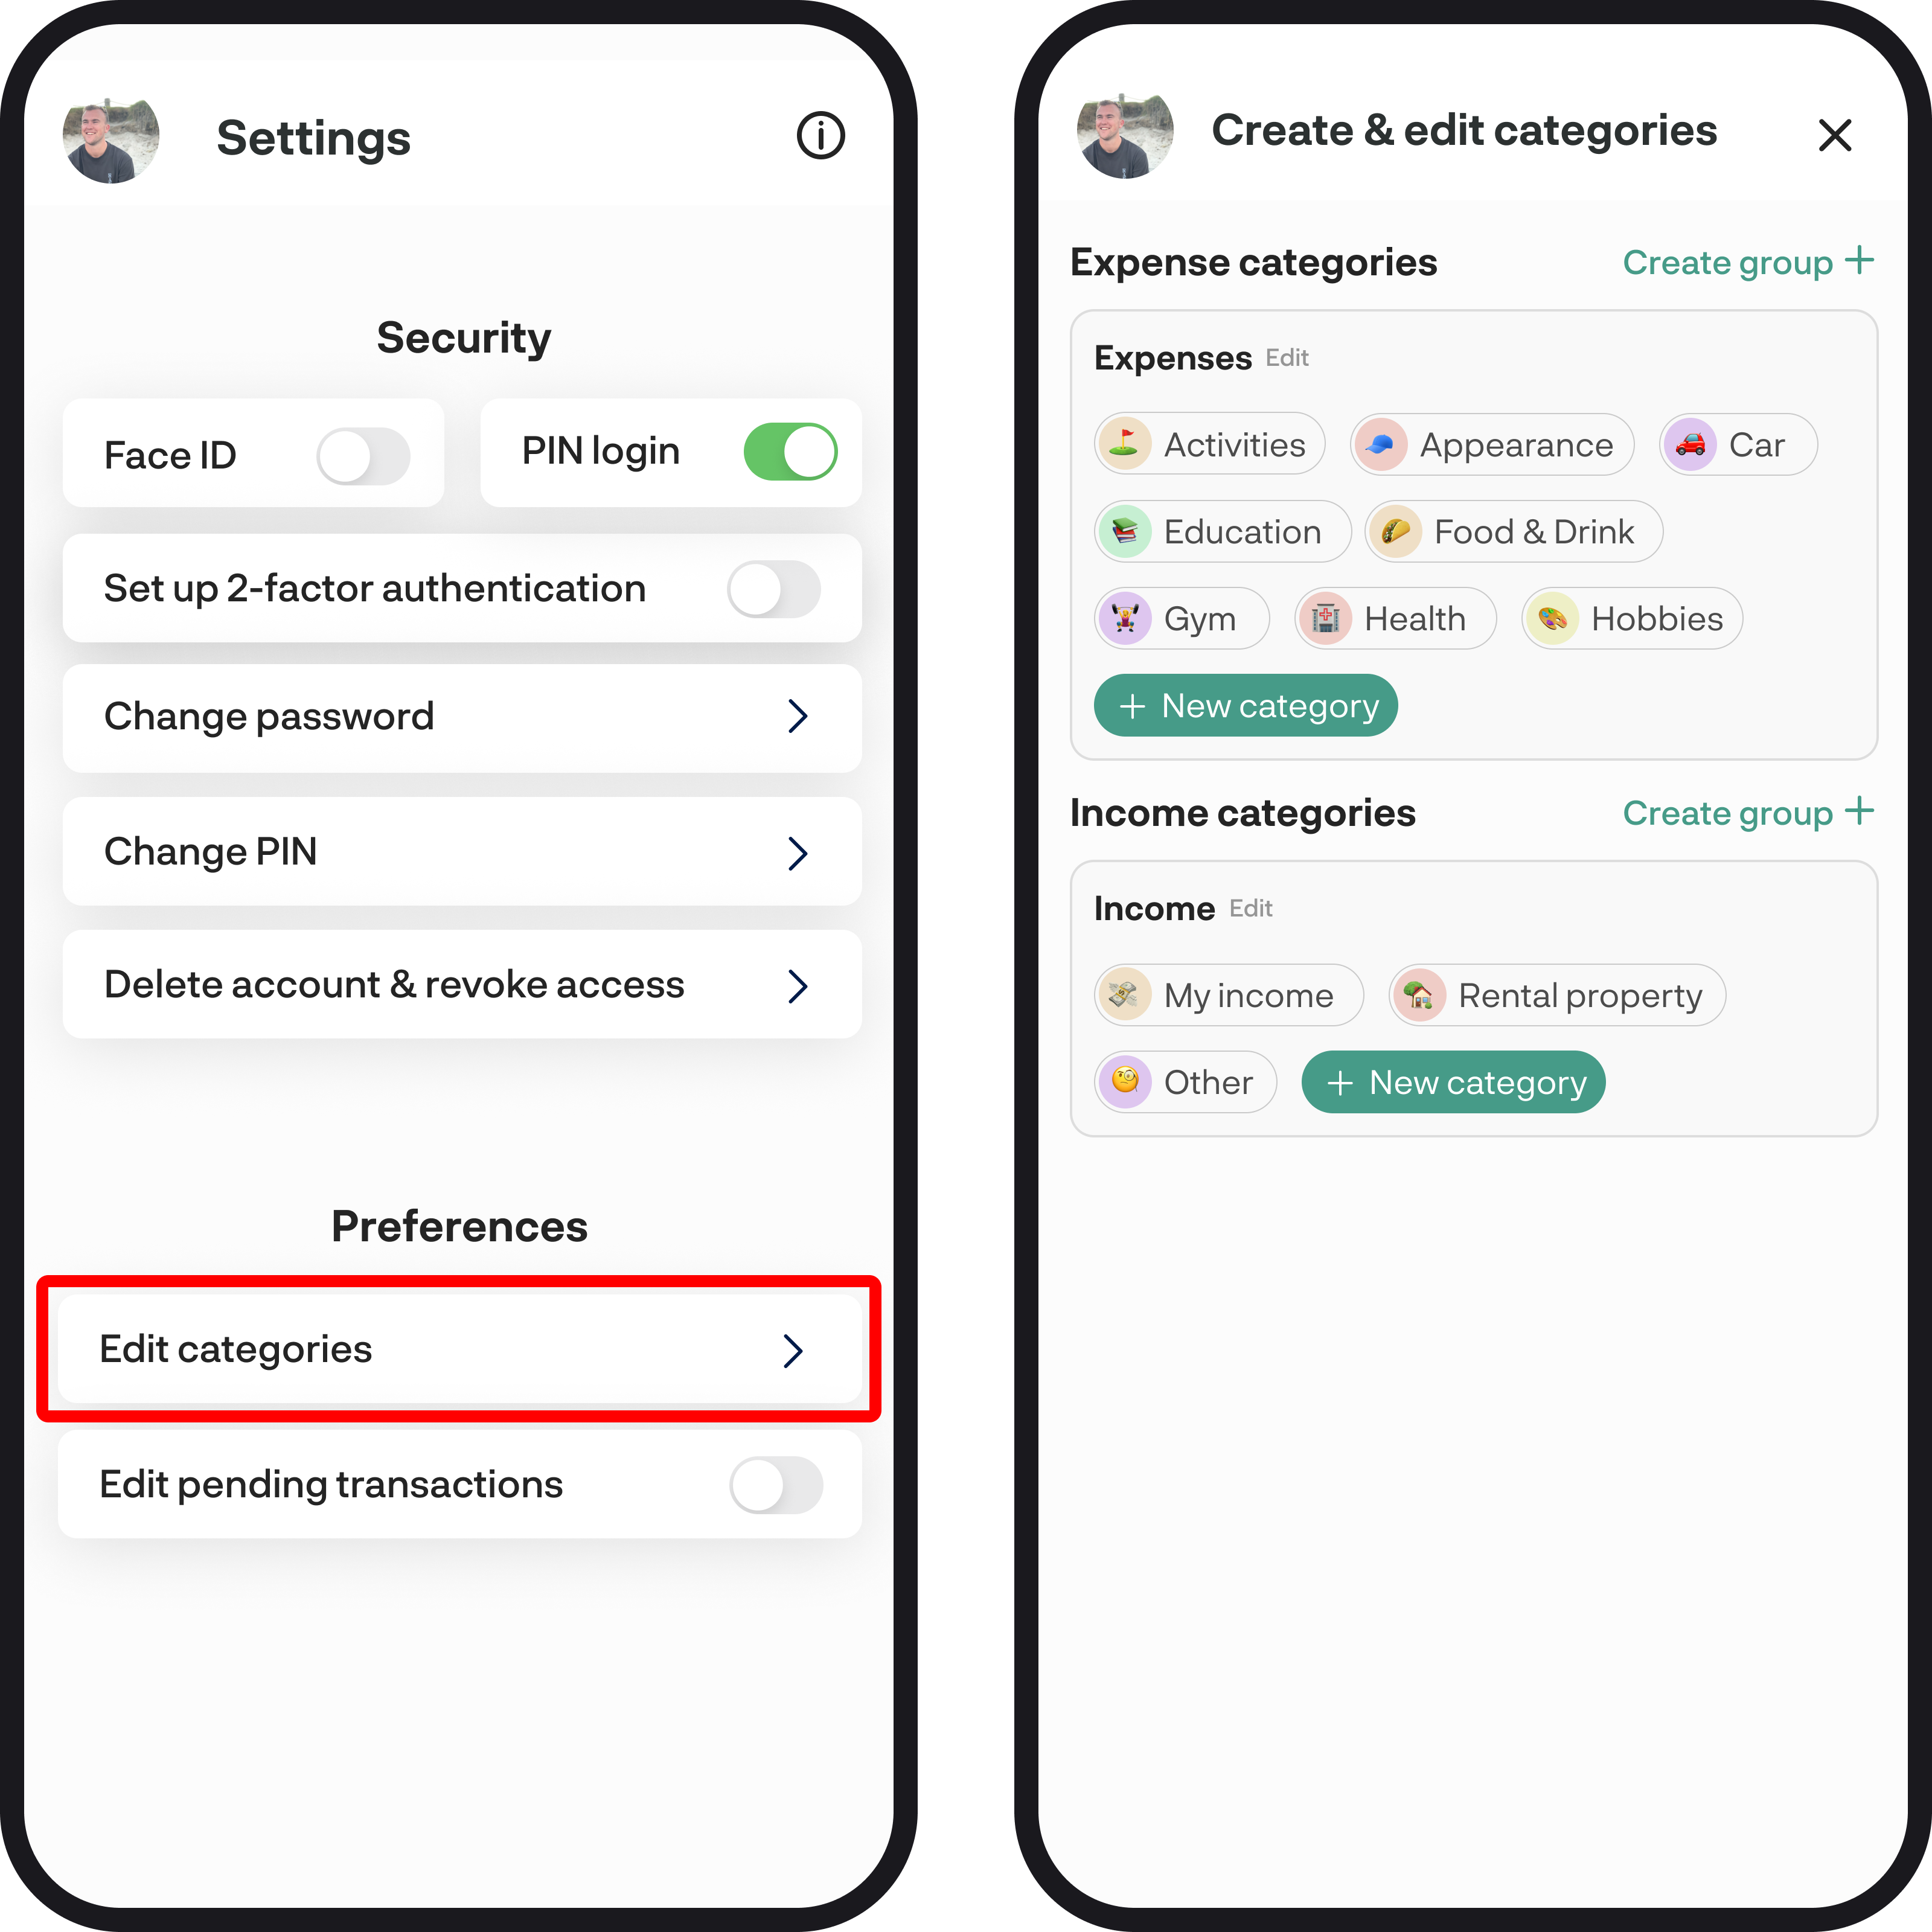
Go to Settings and tap Add & edit categories. Keep the default expense categories, change their colour and emoji, or create your own.
- New group - then drag categories into it, or create new ones inside the group
- New category - choose income or expense
- Savings category? - turn this on for money you put away each cycle, like KiwiSaver or an emergency fund. Read How savings categories work
Income categories are custom. Create one when you categorise your pay, or when you add an income budget.
Read How to create, edit & delete categories.
4. Organise your transactions
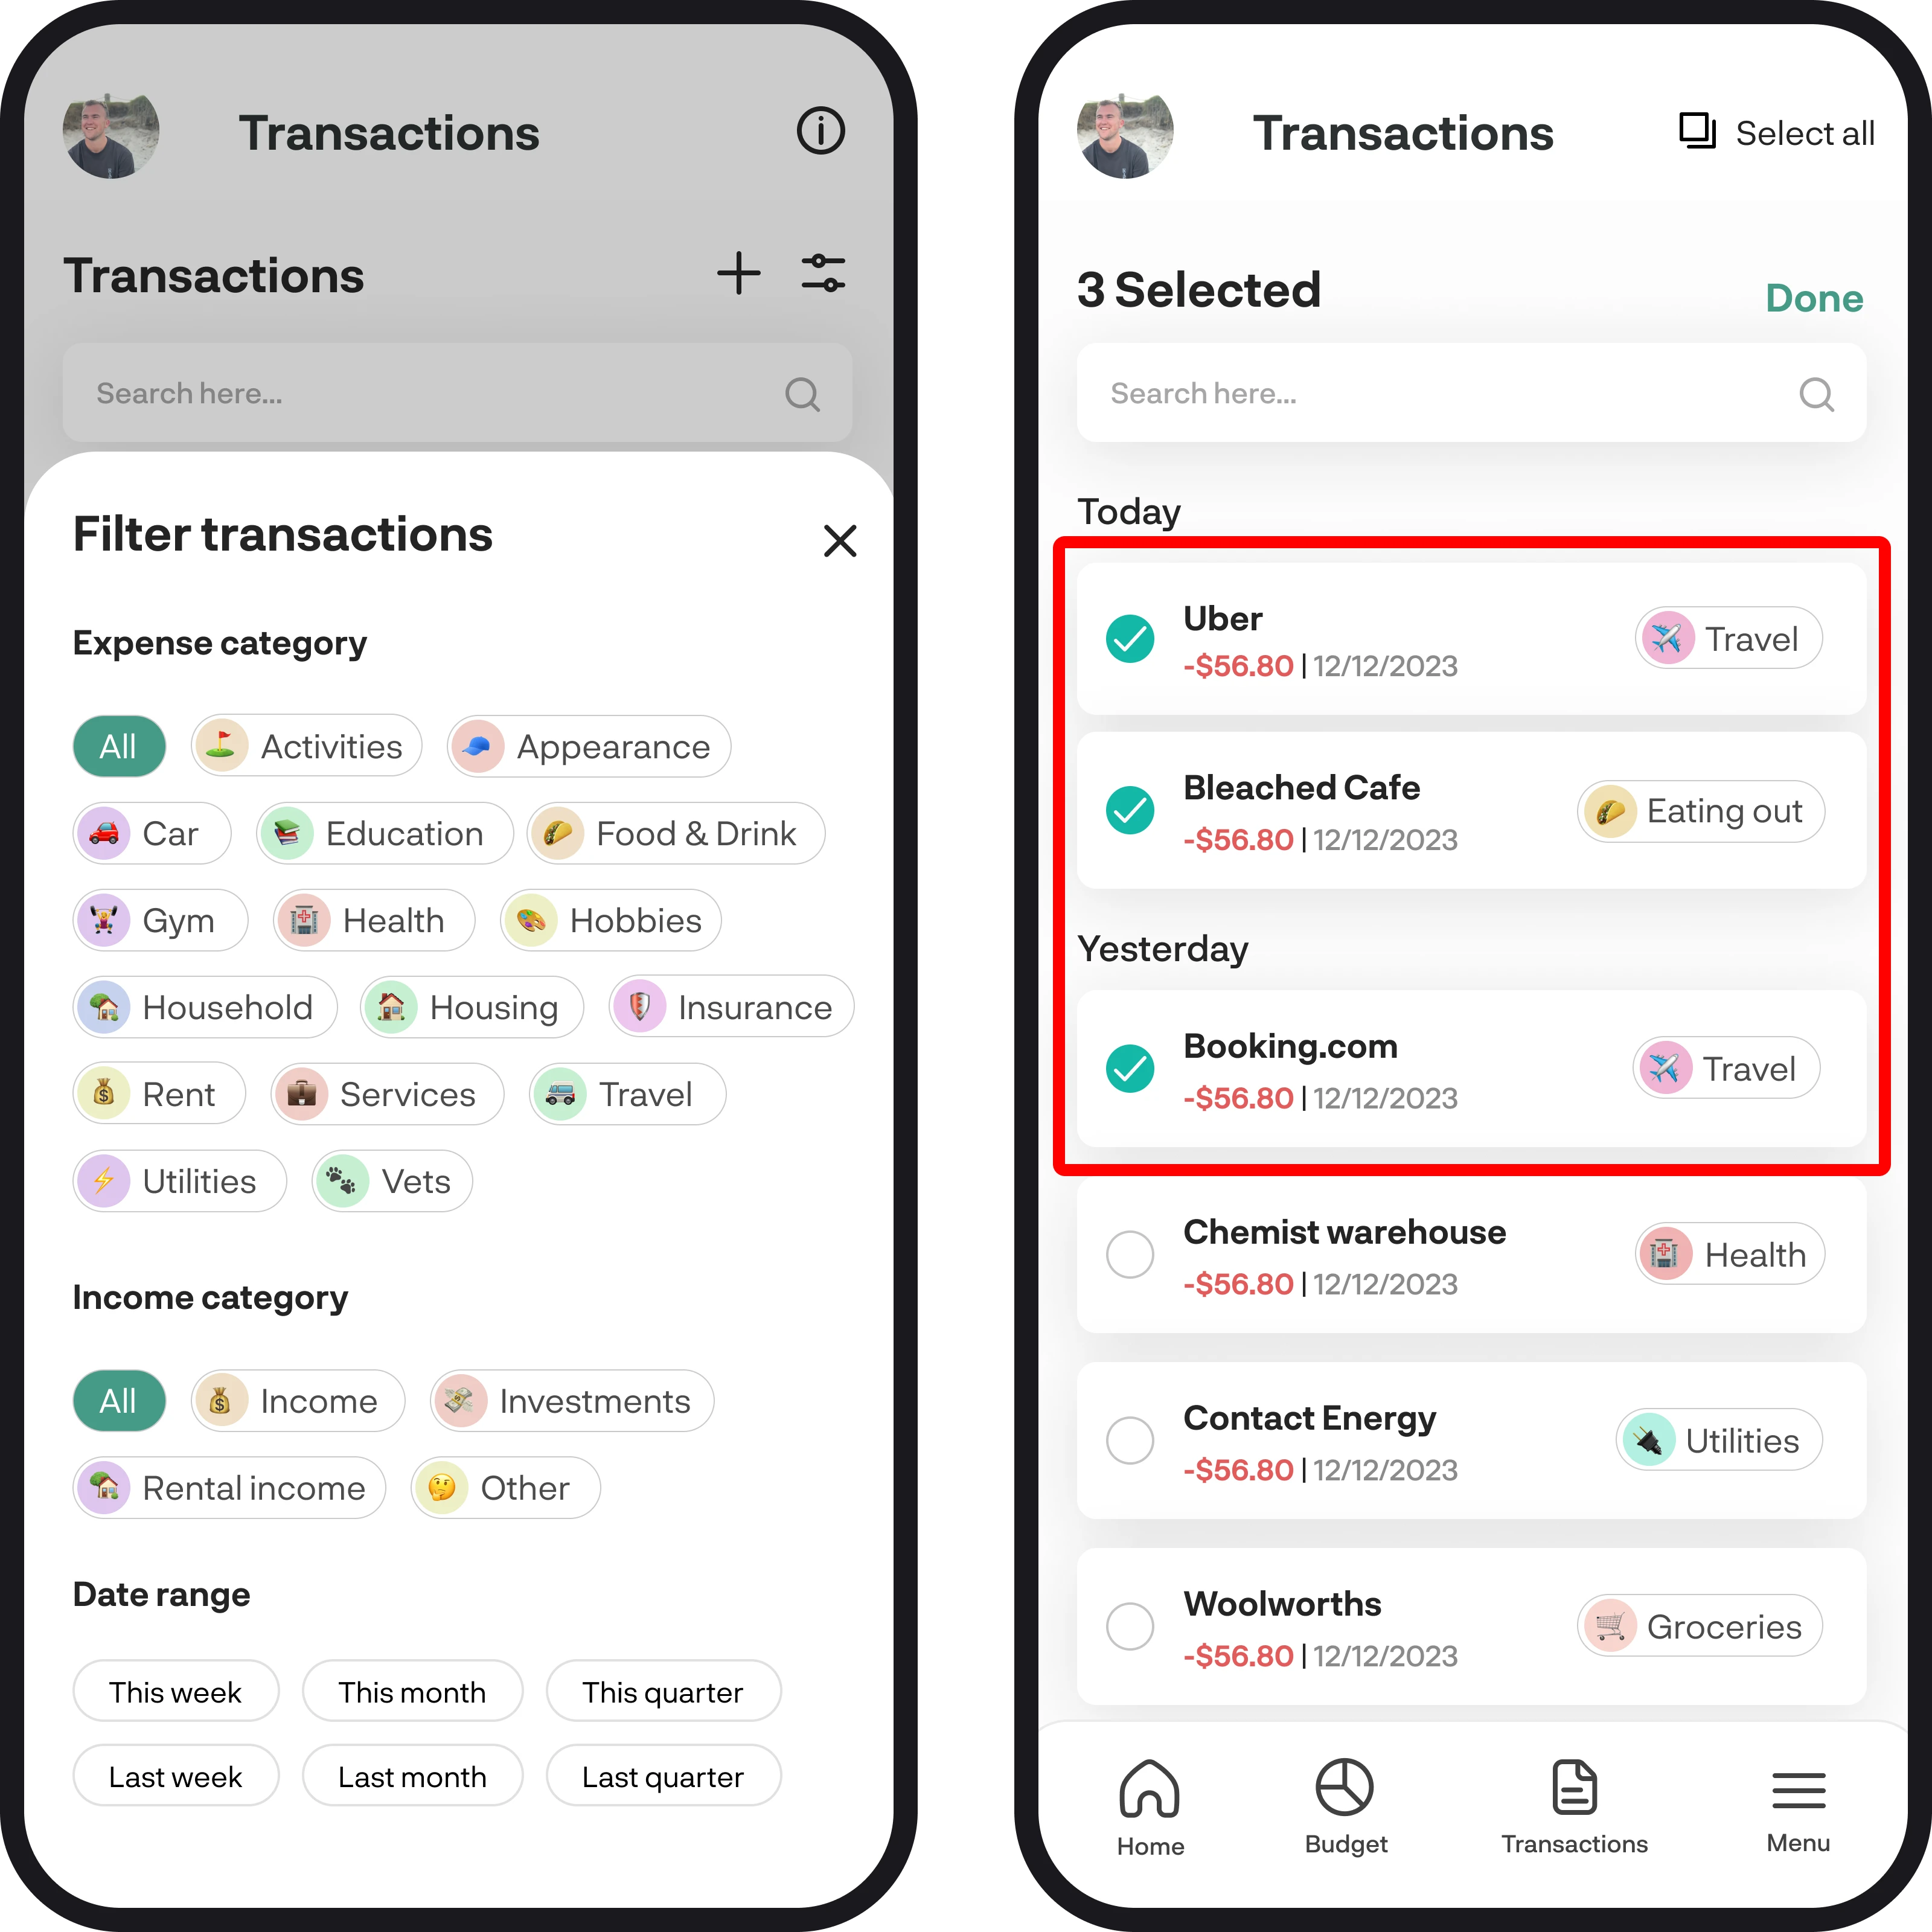
Open Transactions. Each one shows the merchant, amount, and category. Some arrive uncategorised. Use search, the filter icon, or the green and red tiles to switch between categorised and uncategorised.
Income - categorise your pay and other money coming in. If you don't have an income category yet, tap New category in the picker and create one.
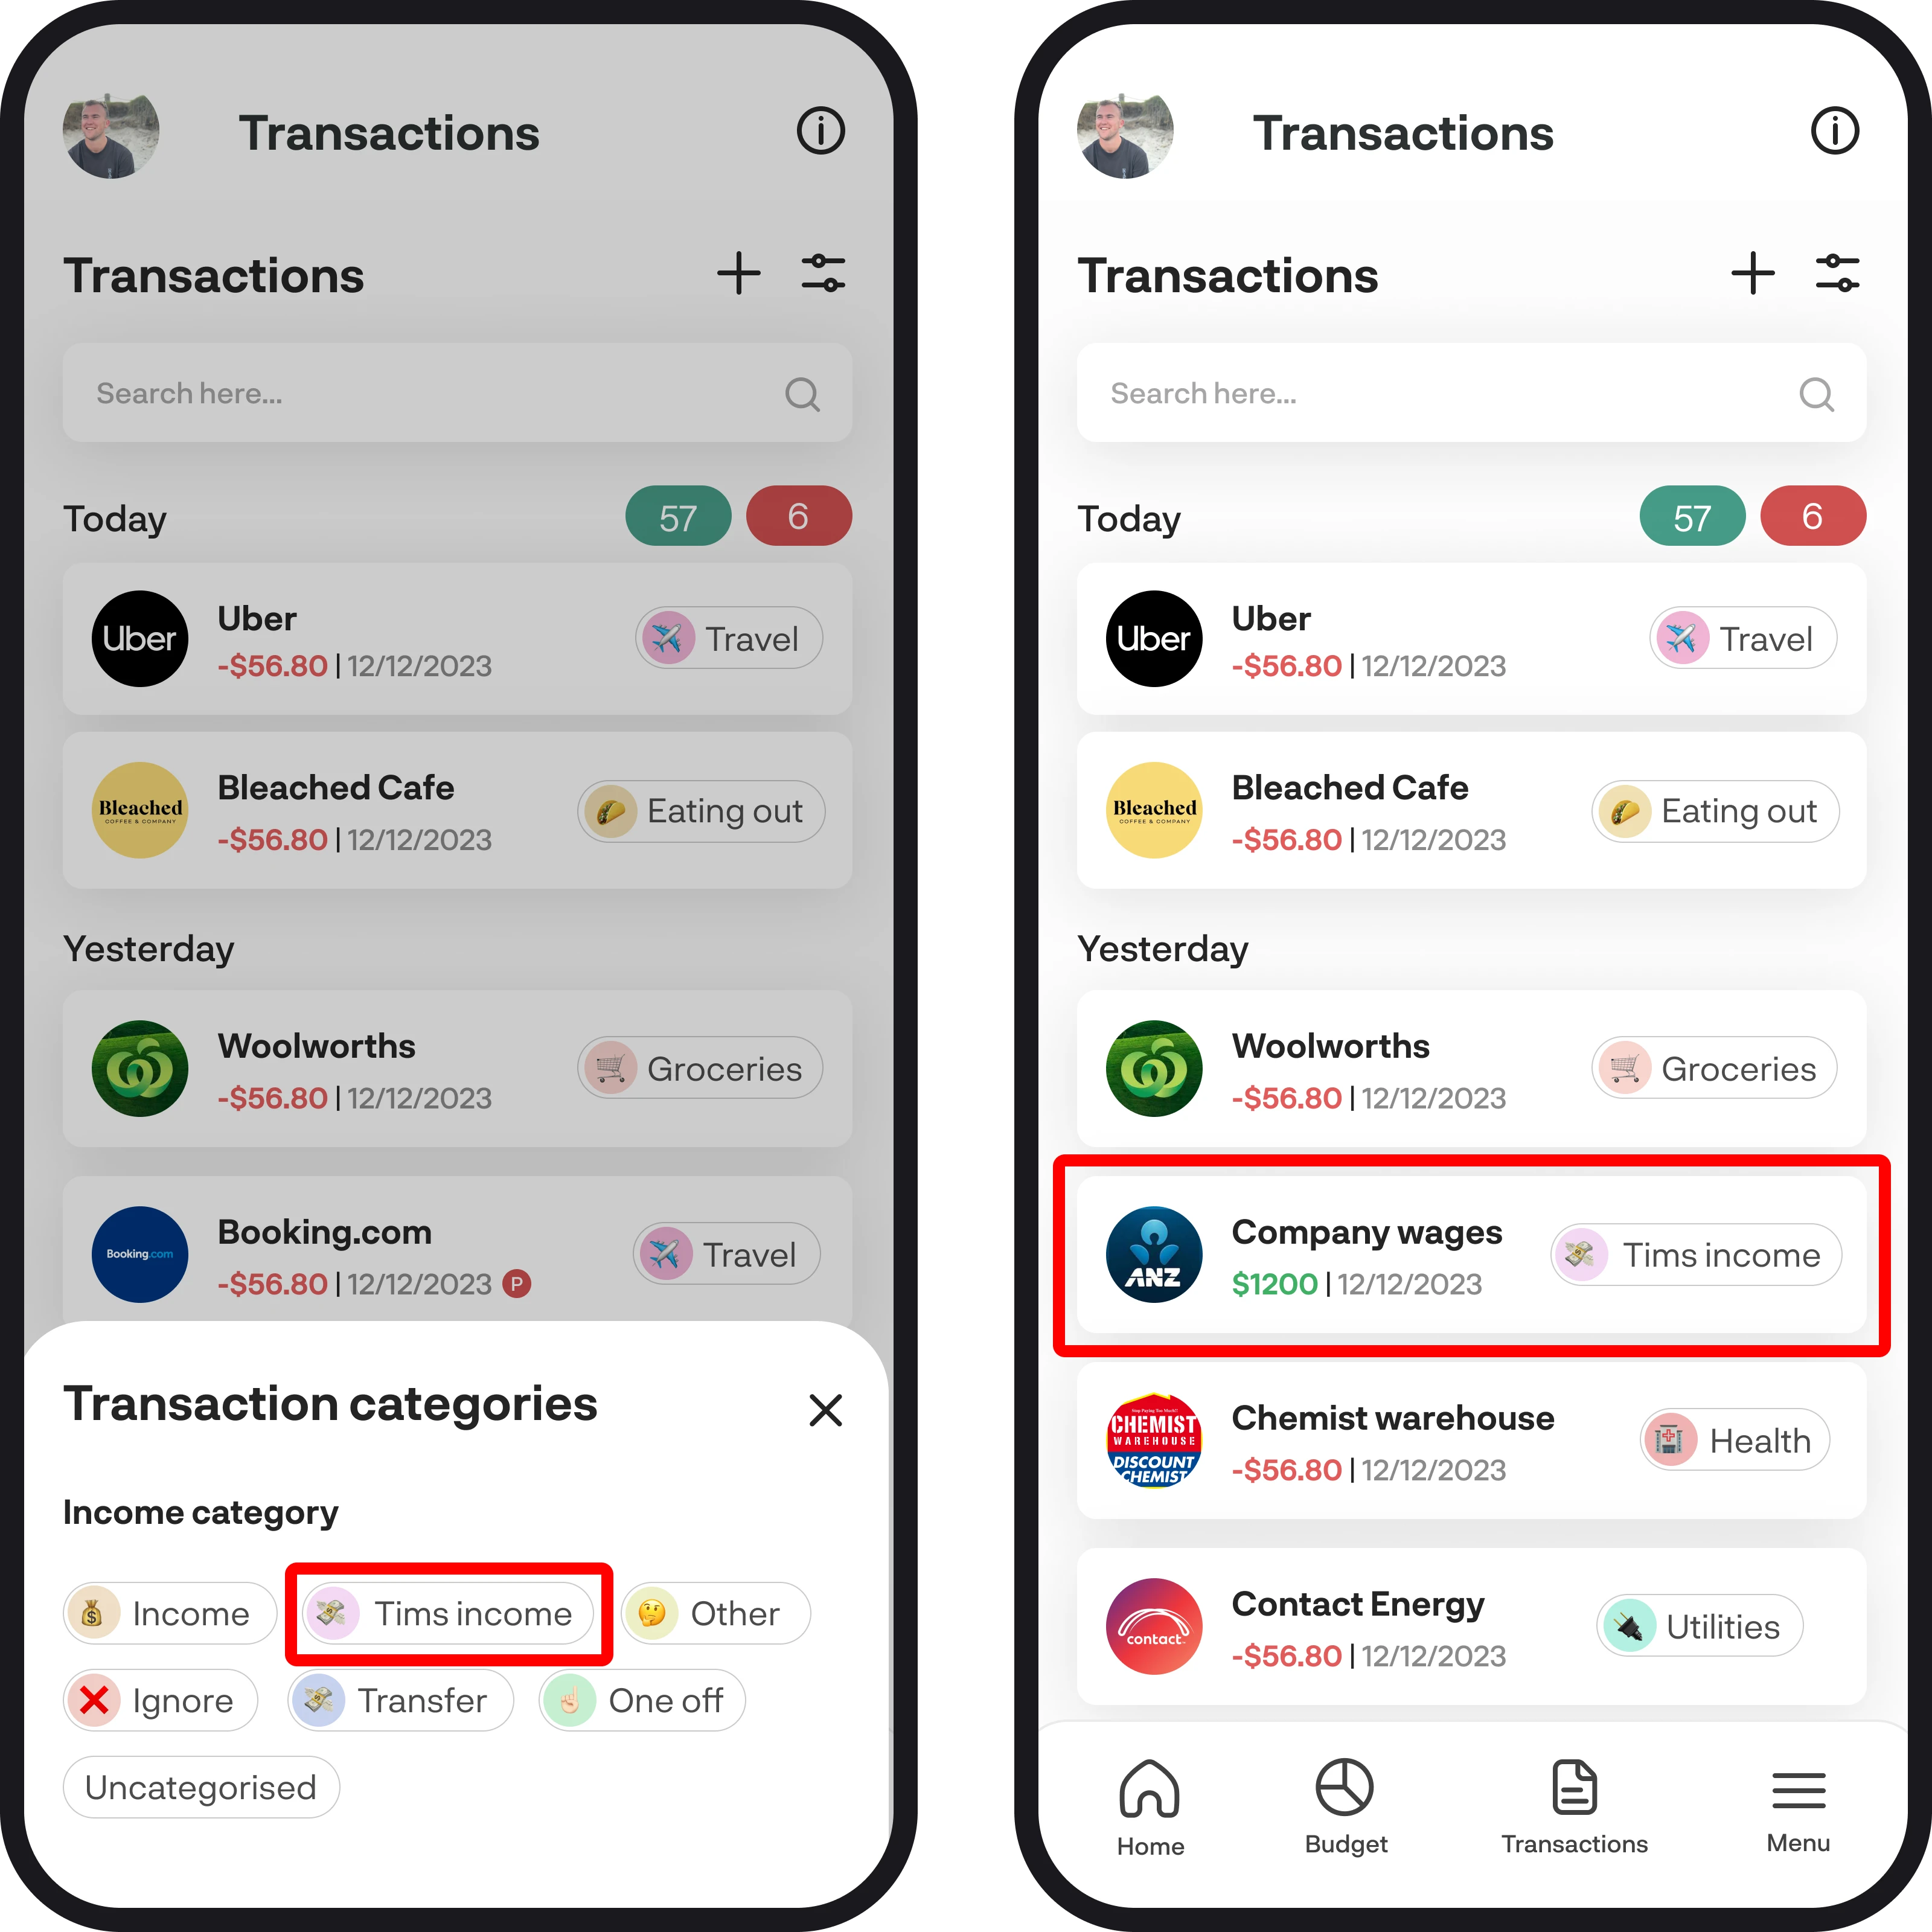
Expenses - most already have a default category. Change any that don't fit, and fill in the rest from the picker.
Shortcuts that save time:
- Merchants - change the category on a merchant and every transaction under it updates
- Bulk changes - tap the bulk icon, or press and hold a transaction, then select more. Change the category on one and the rest follow. Tap Done when you're finished
- Rules - add a transaction rule if the same merchant keeps landing in the wrong place
- Transfers - moves between your own accounts should be Transfer, not income or spend
- Savings transfers - categorise only the everyday-account outflow as your savings category. Leave the matching credit as Transfer
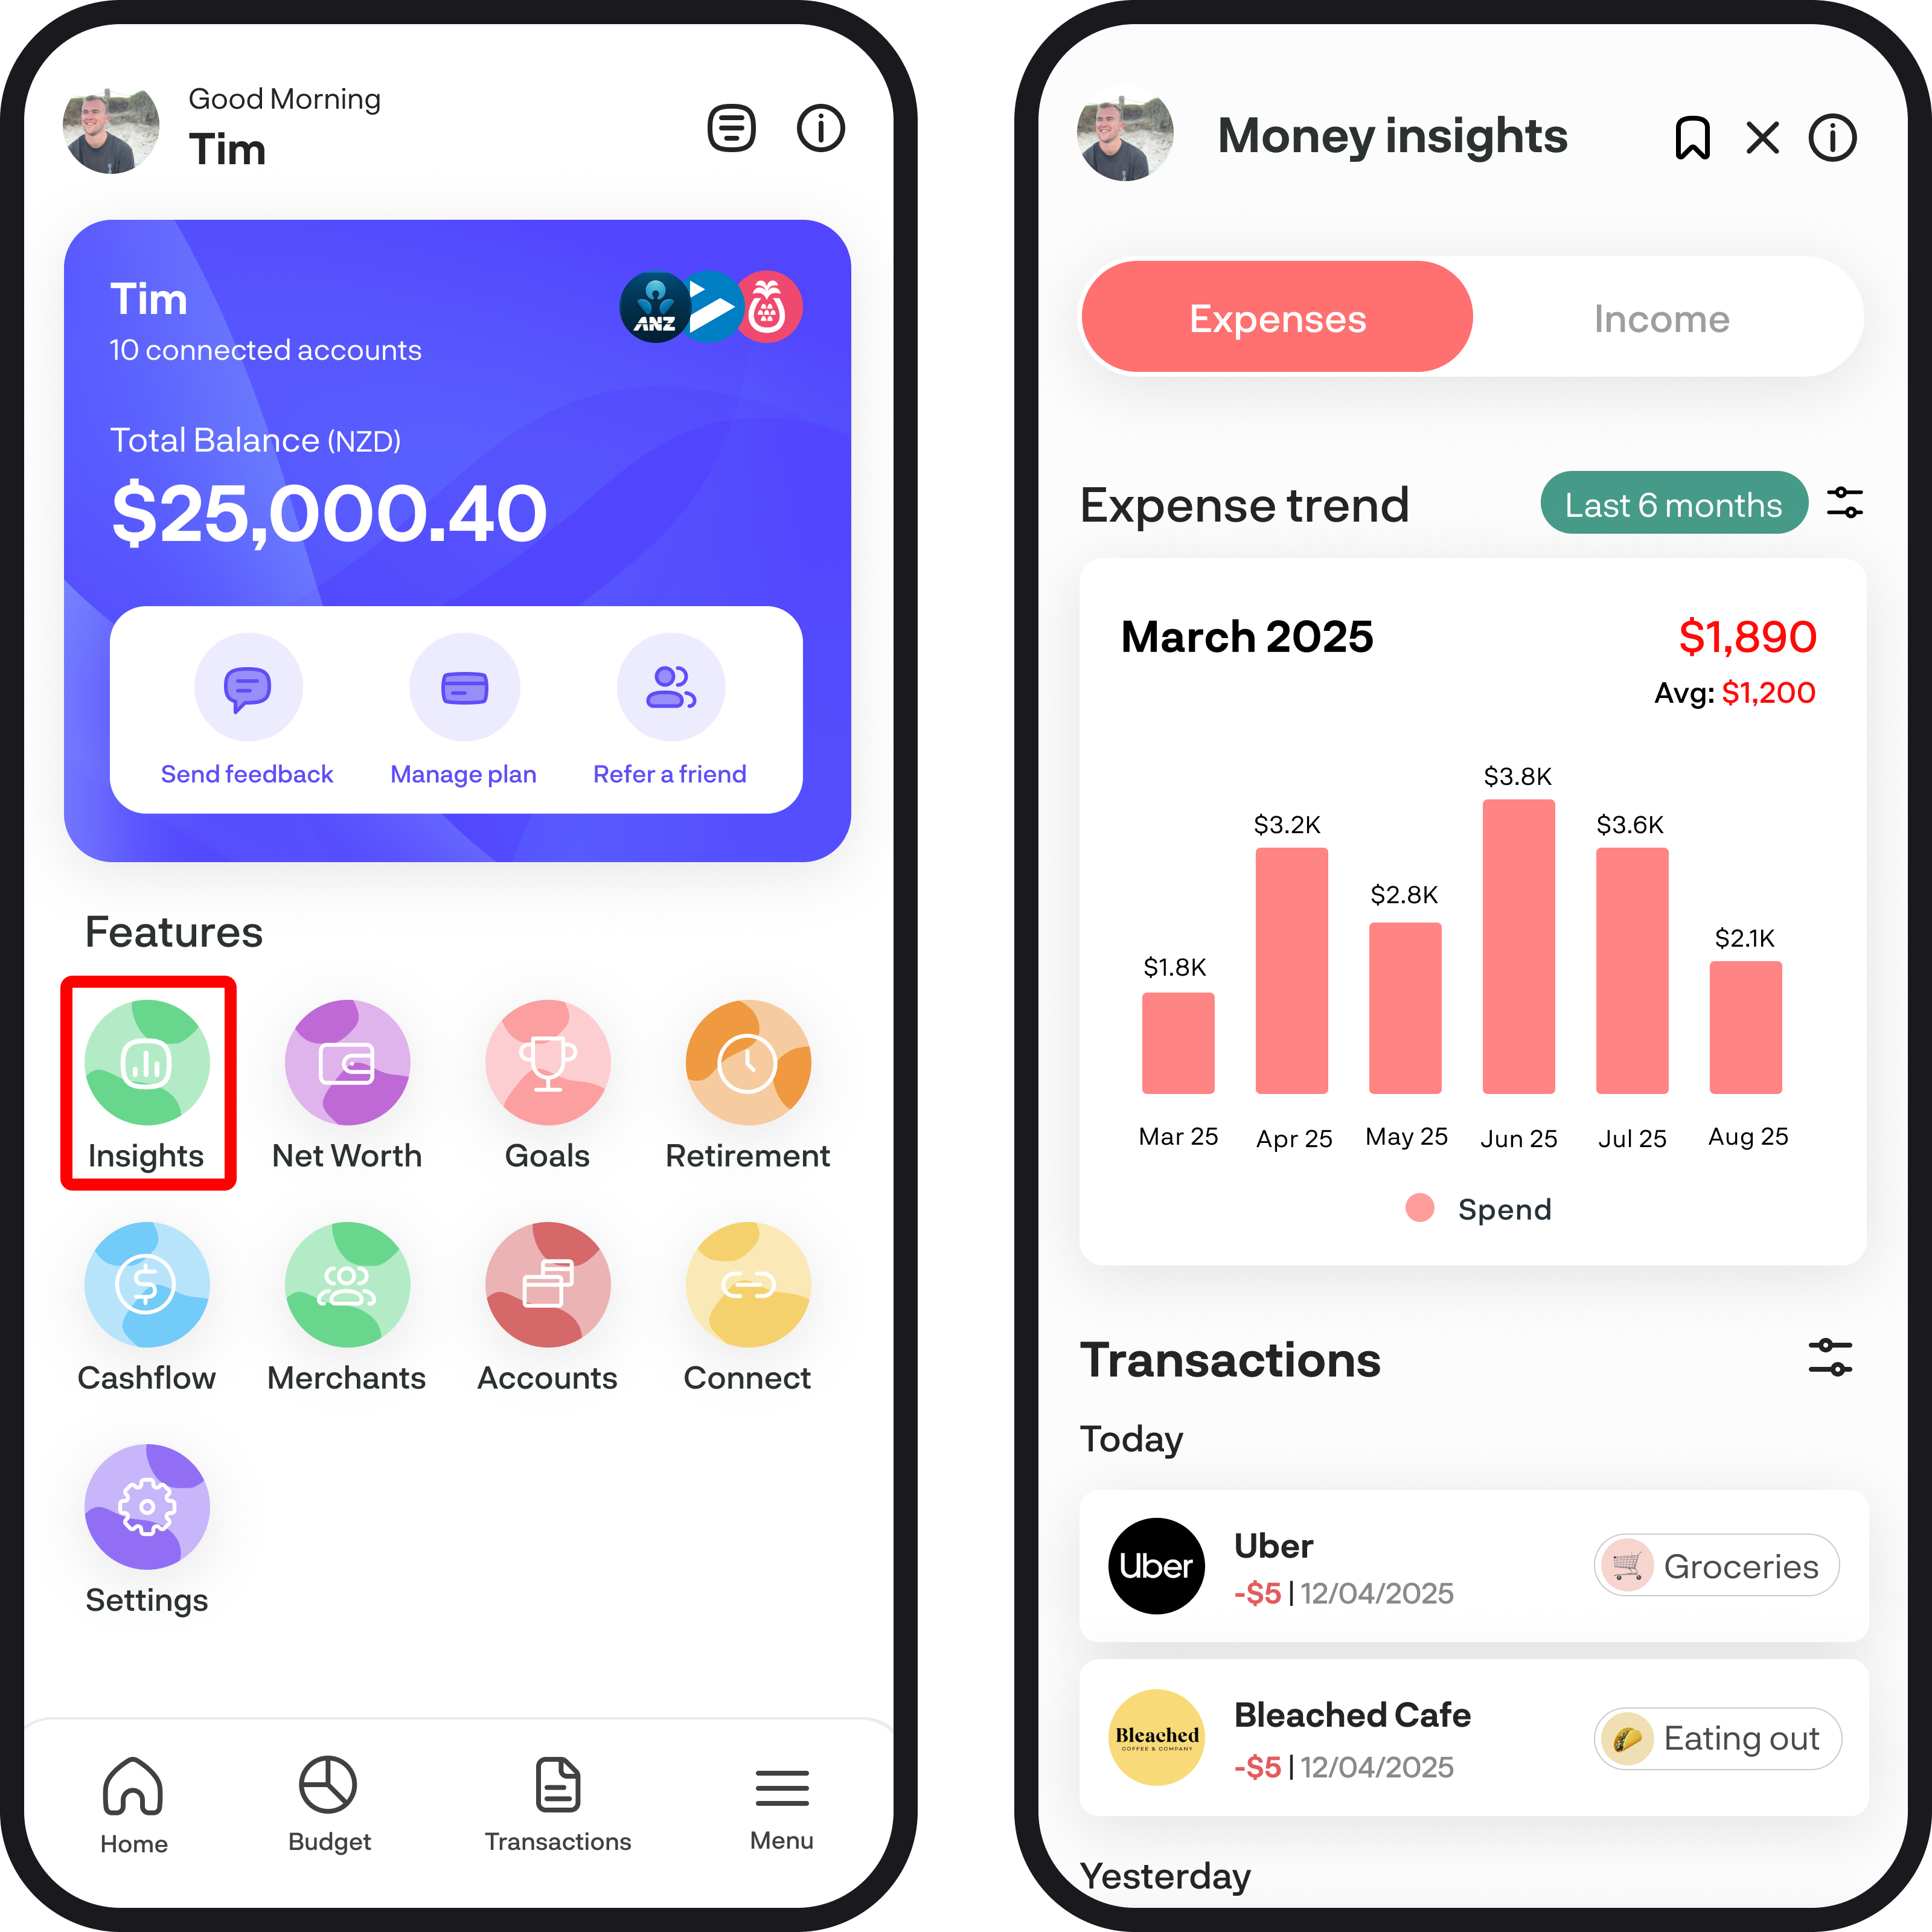
5. Get insights
Open Money Insights to see what you earn and where it goes. Toggle between Expenses and Income, pick a date range, and switch between trend and breakdown.
Use the filter to slice by category, account, merchant, or tag. Tap a category or merchant to see the transactions underneath.
If a number looks off, wait for transactions to finish loading, then categorise anything still uncategorised. Transfer, Ignore, and savings-category amounts are left out of the default totals on purpose.
Read Money insights feature overview.
6. Create your budget
A budget tracks regular income and expenses, and it powers leftover, cashflow, and a lot of Home. The period for all regular budgets is set once in Budget settings — weekly, fortnightly, monthly, or custom.
On the Income or Expense list:
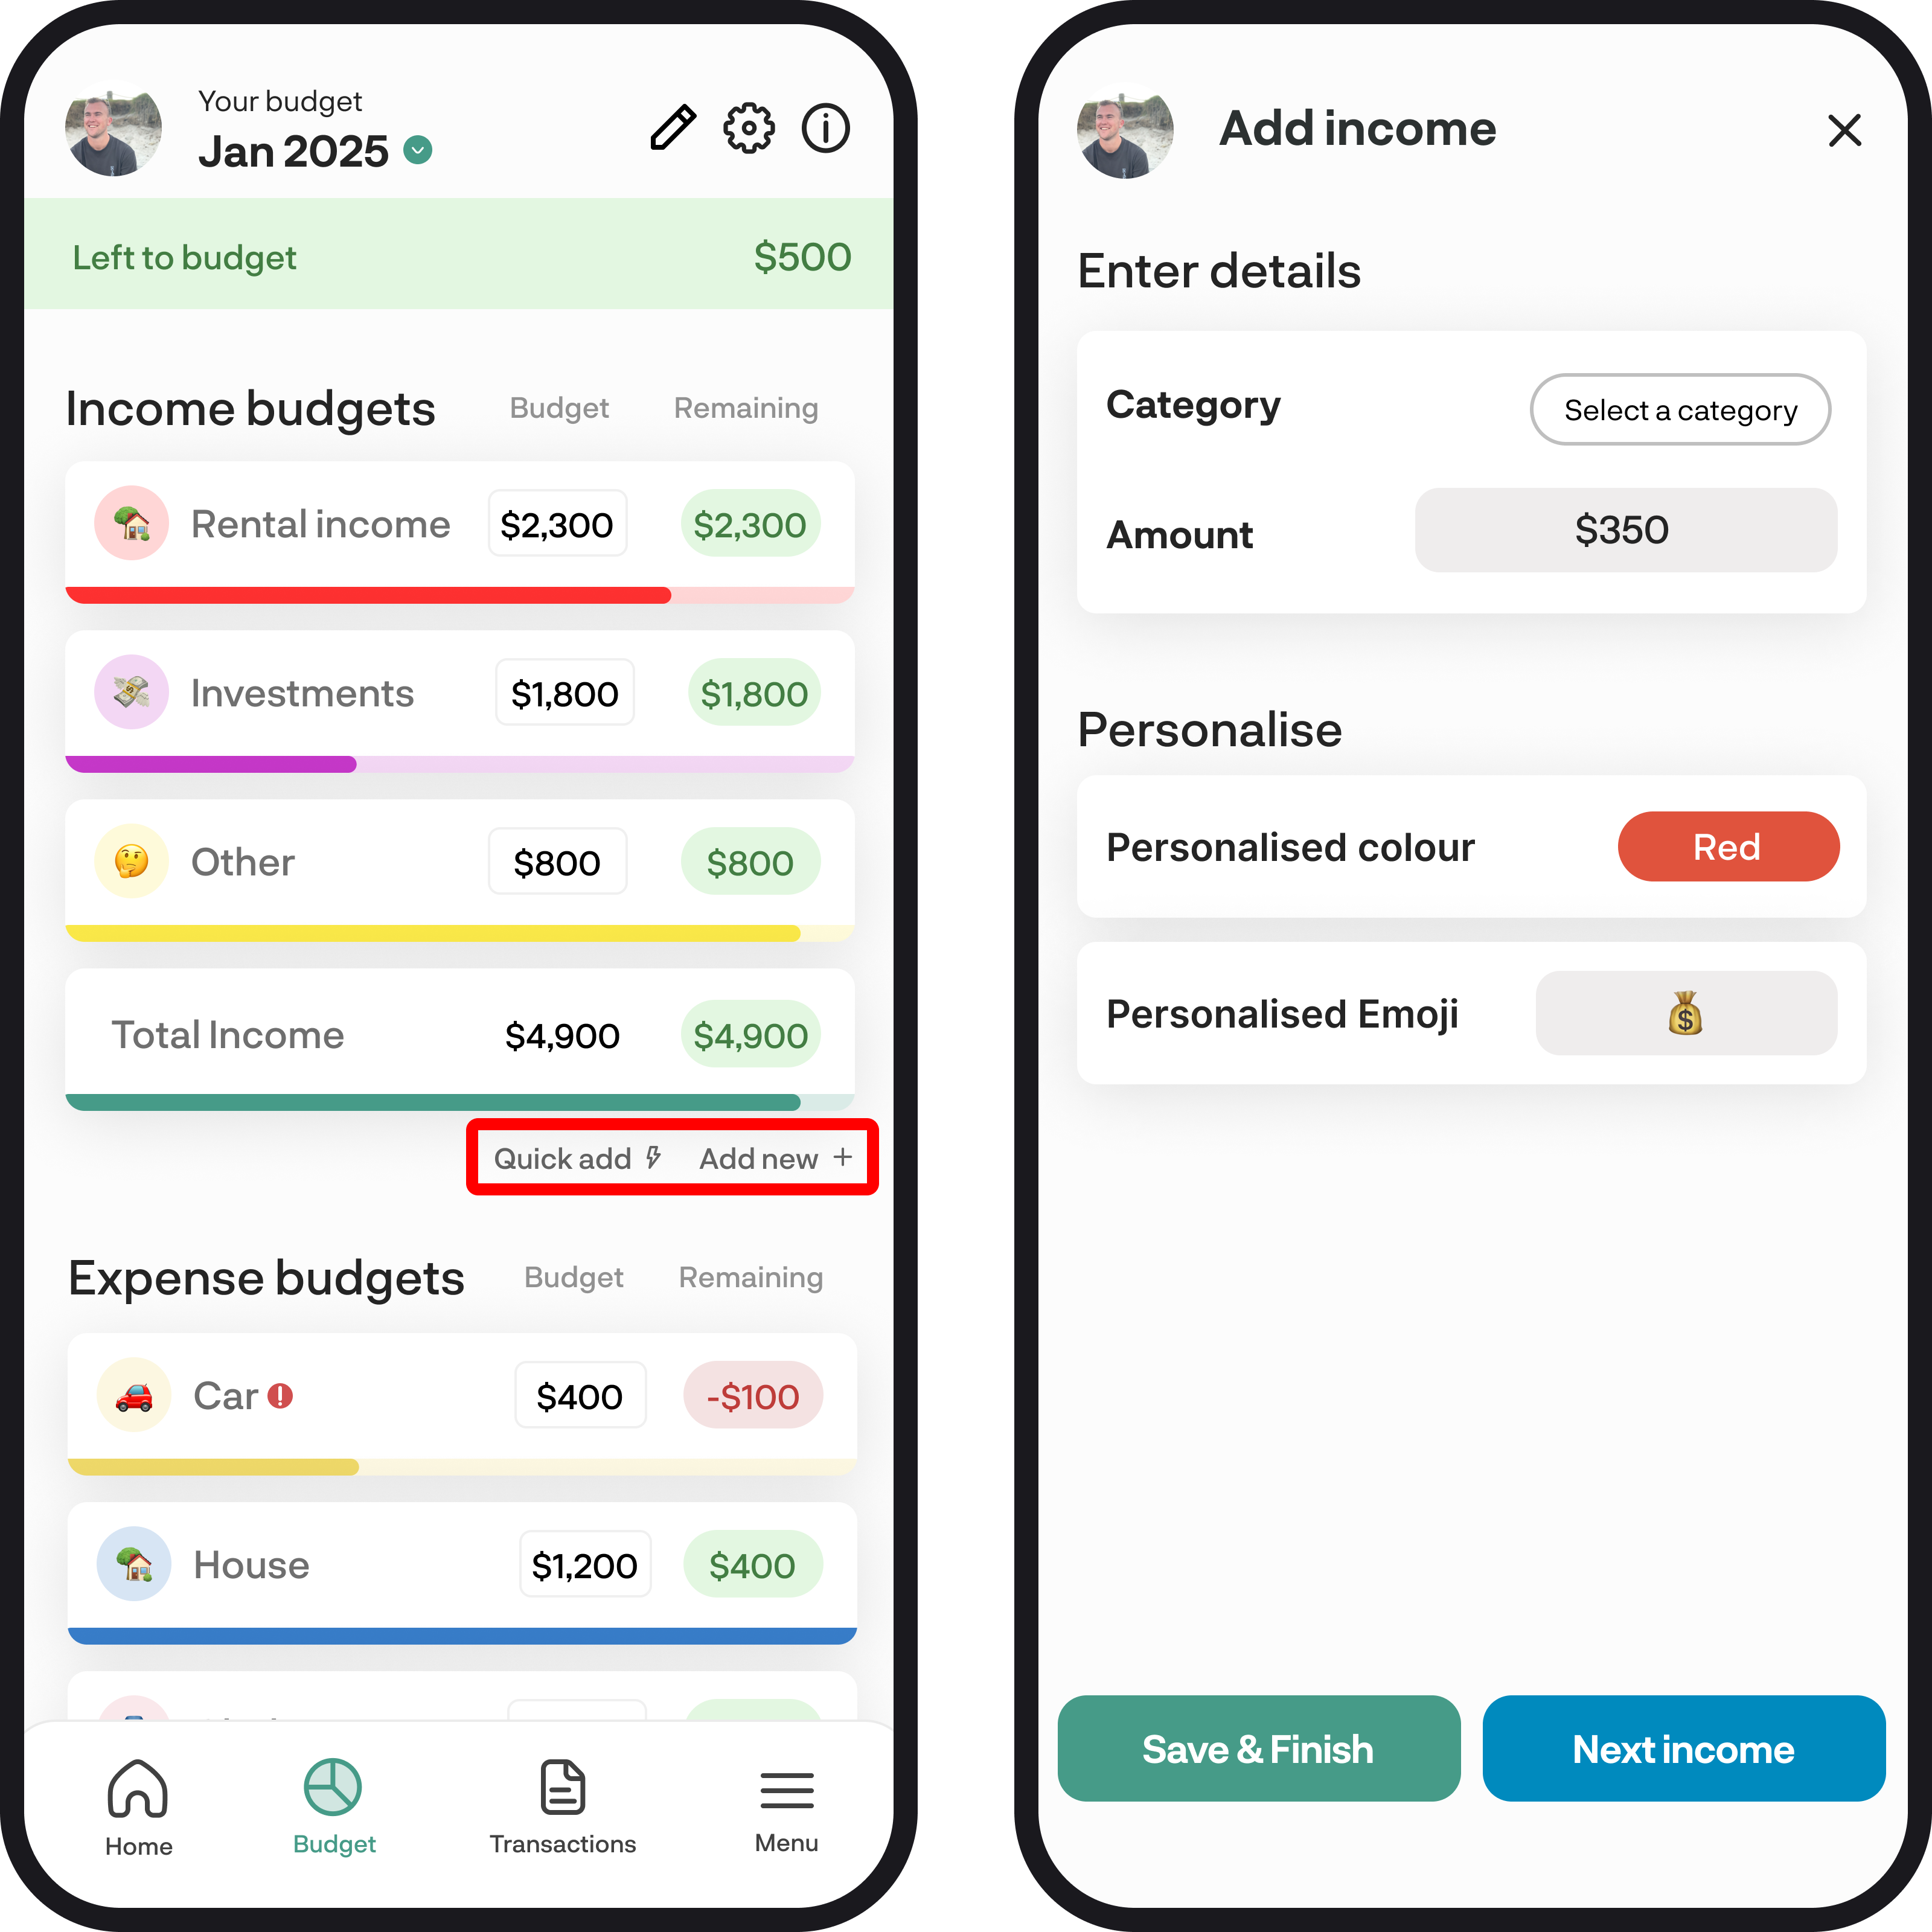
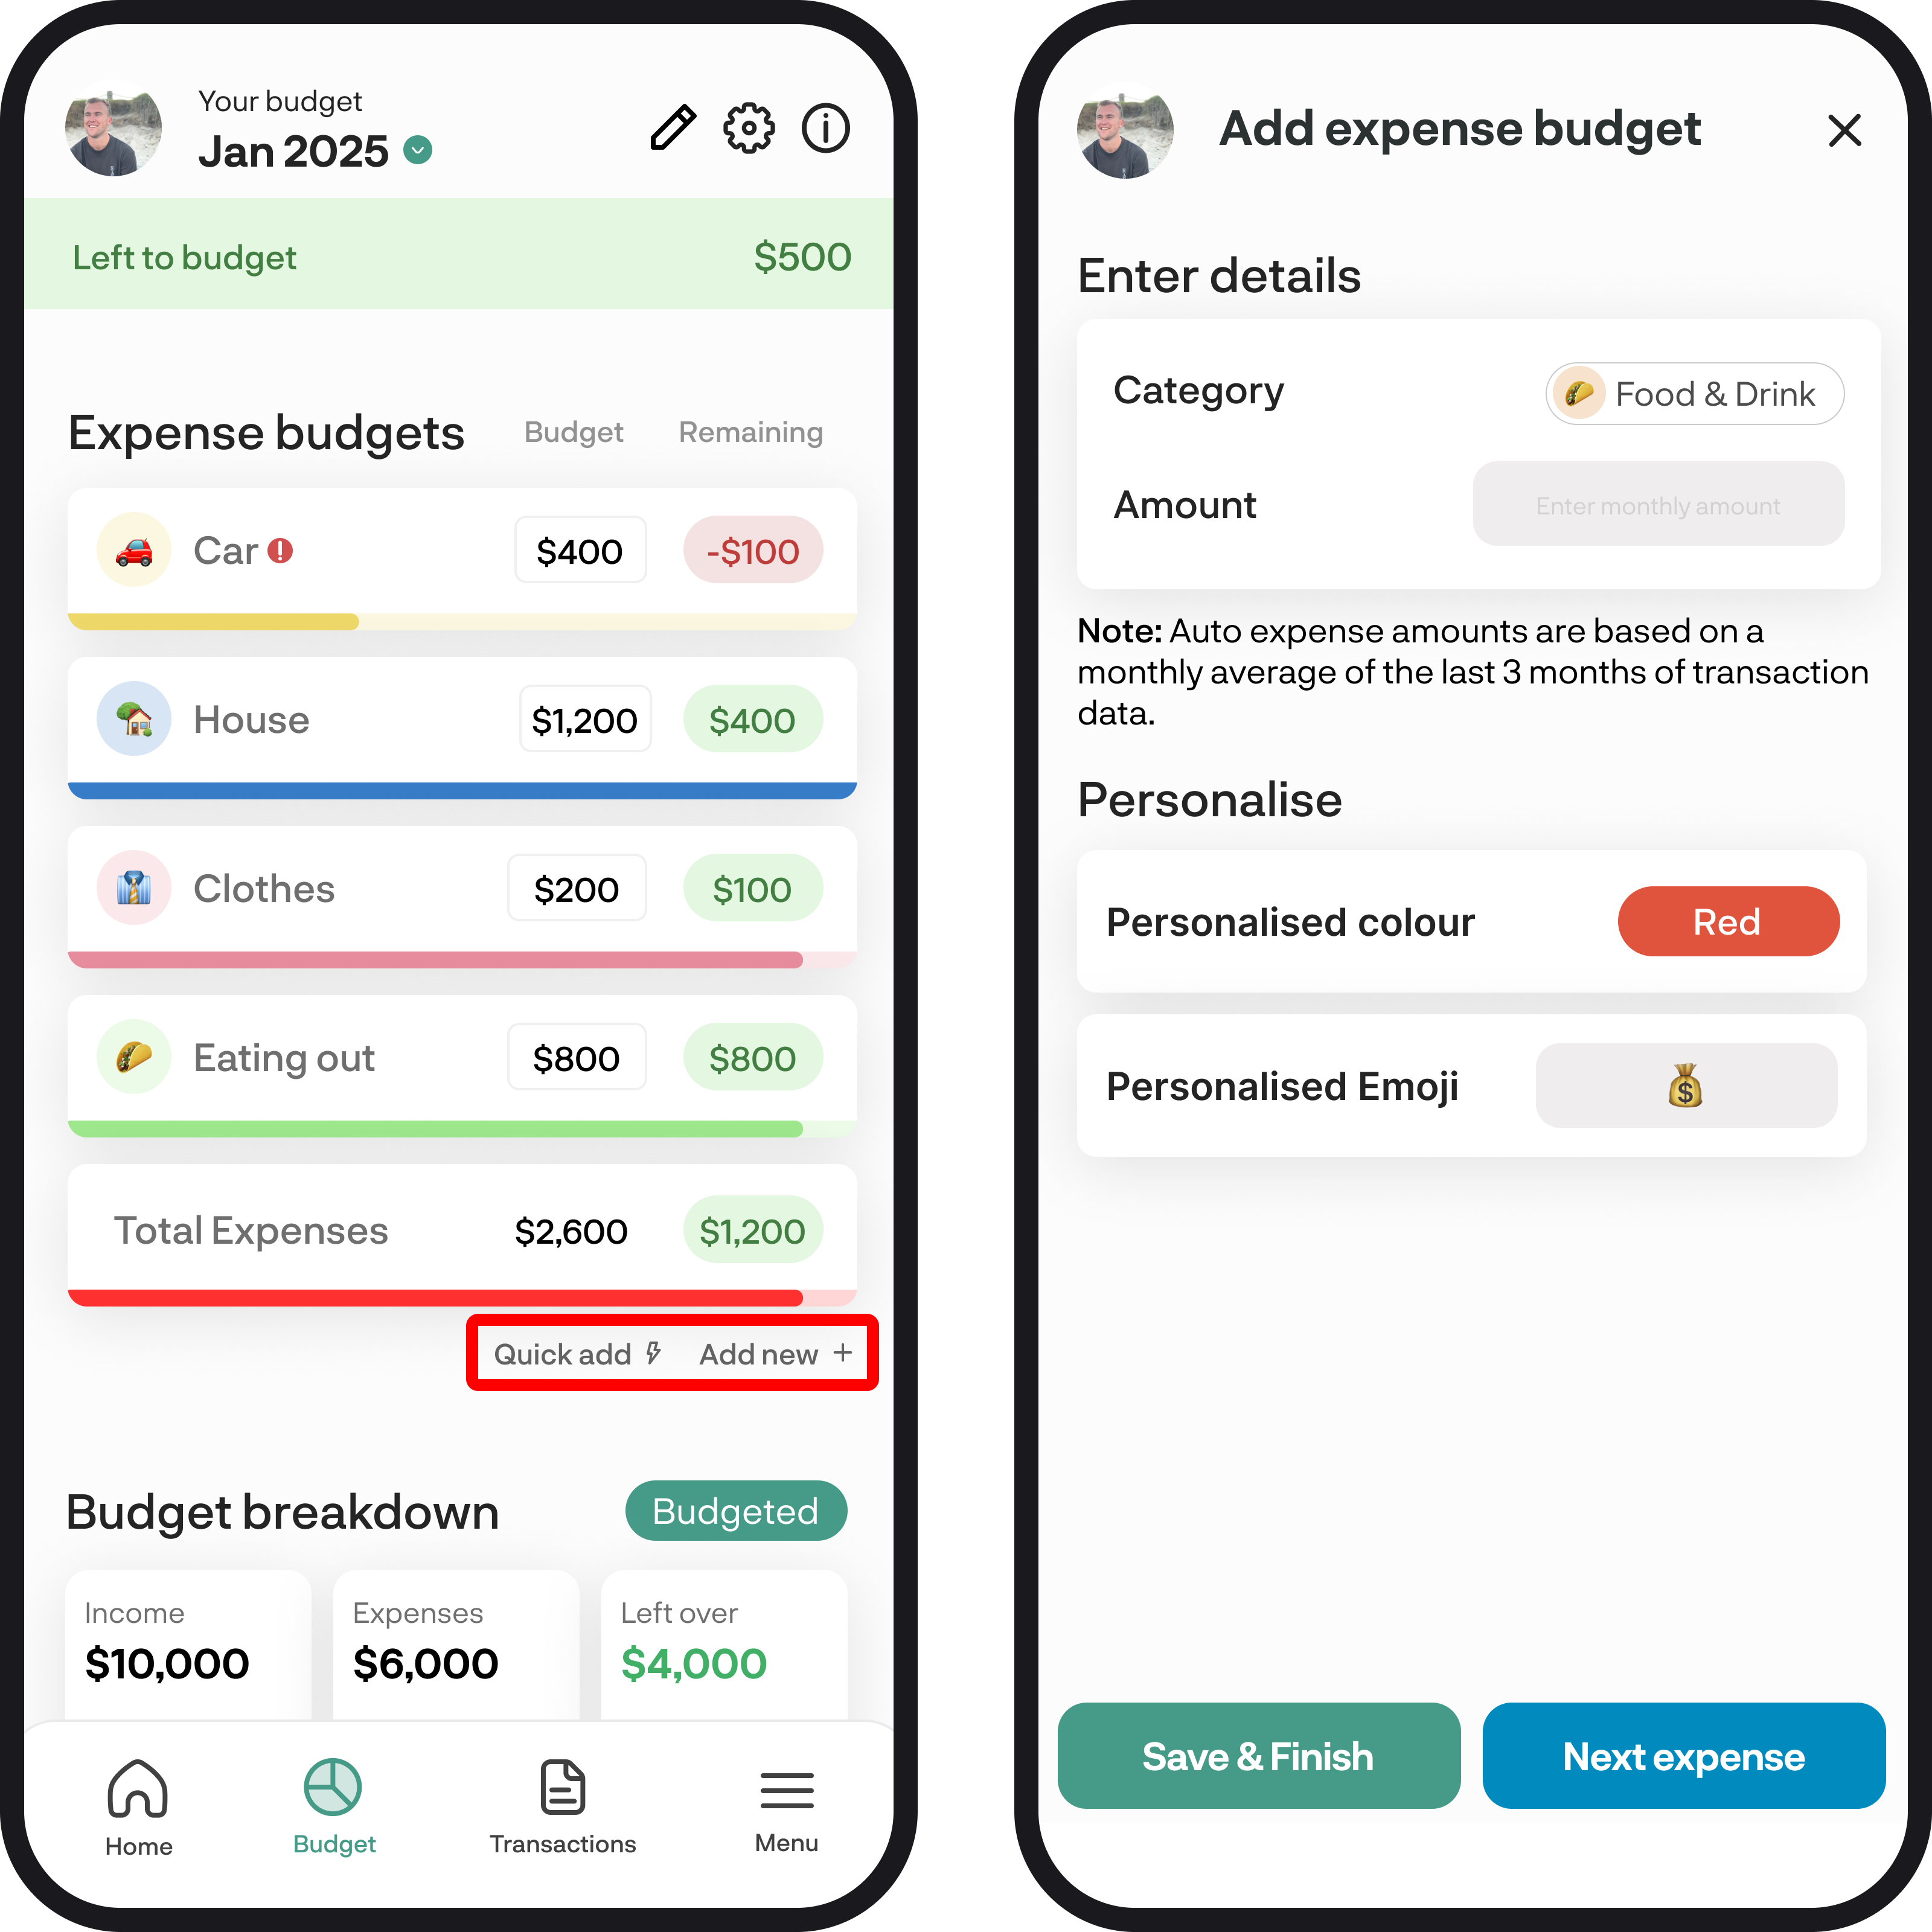
- Quick add - suggested categories with amounts filled from your real transactions. Edit any amount, then add the ones you want
- Add new - then Add budget for the full setup, or Add group to group related budgets
We don't create expense budgets for you when you sign up. Quick add is the fastest way to add several from your usual spend.
Read How to create an income budget or How to create an expense budget.
If this is money you put away each cycle, turn on Savings category? on that expense. It stays in the expense list and is included in leftover, but it is not treated as spending in Money Insights or cashflow leftover.
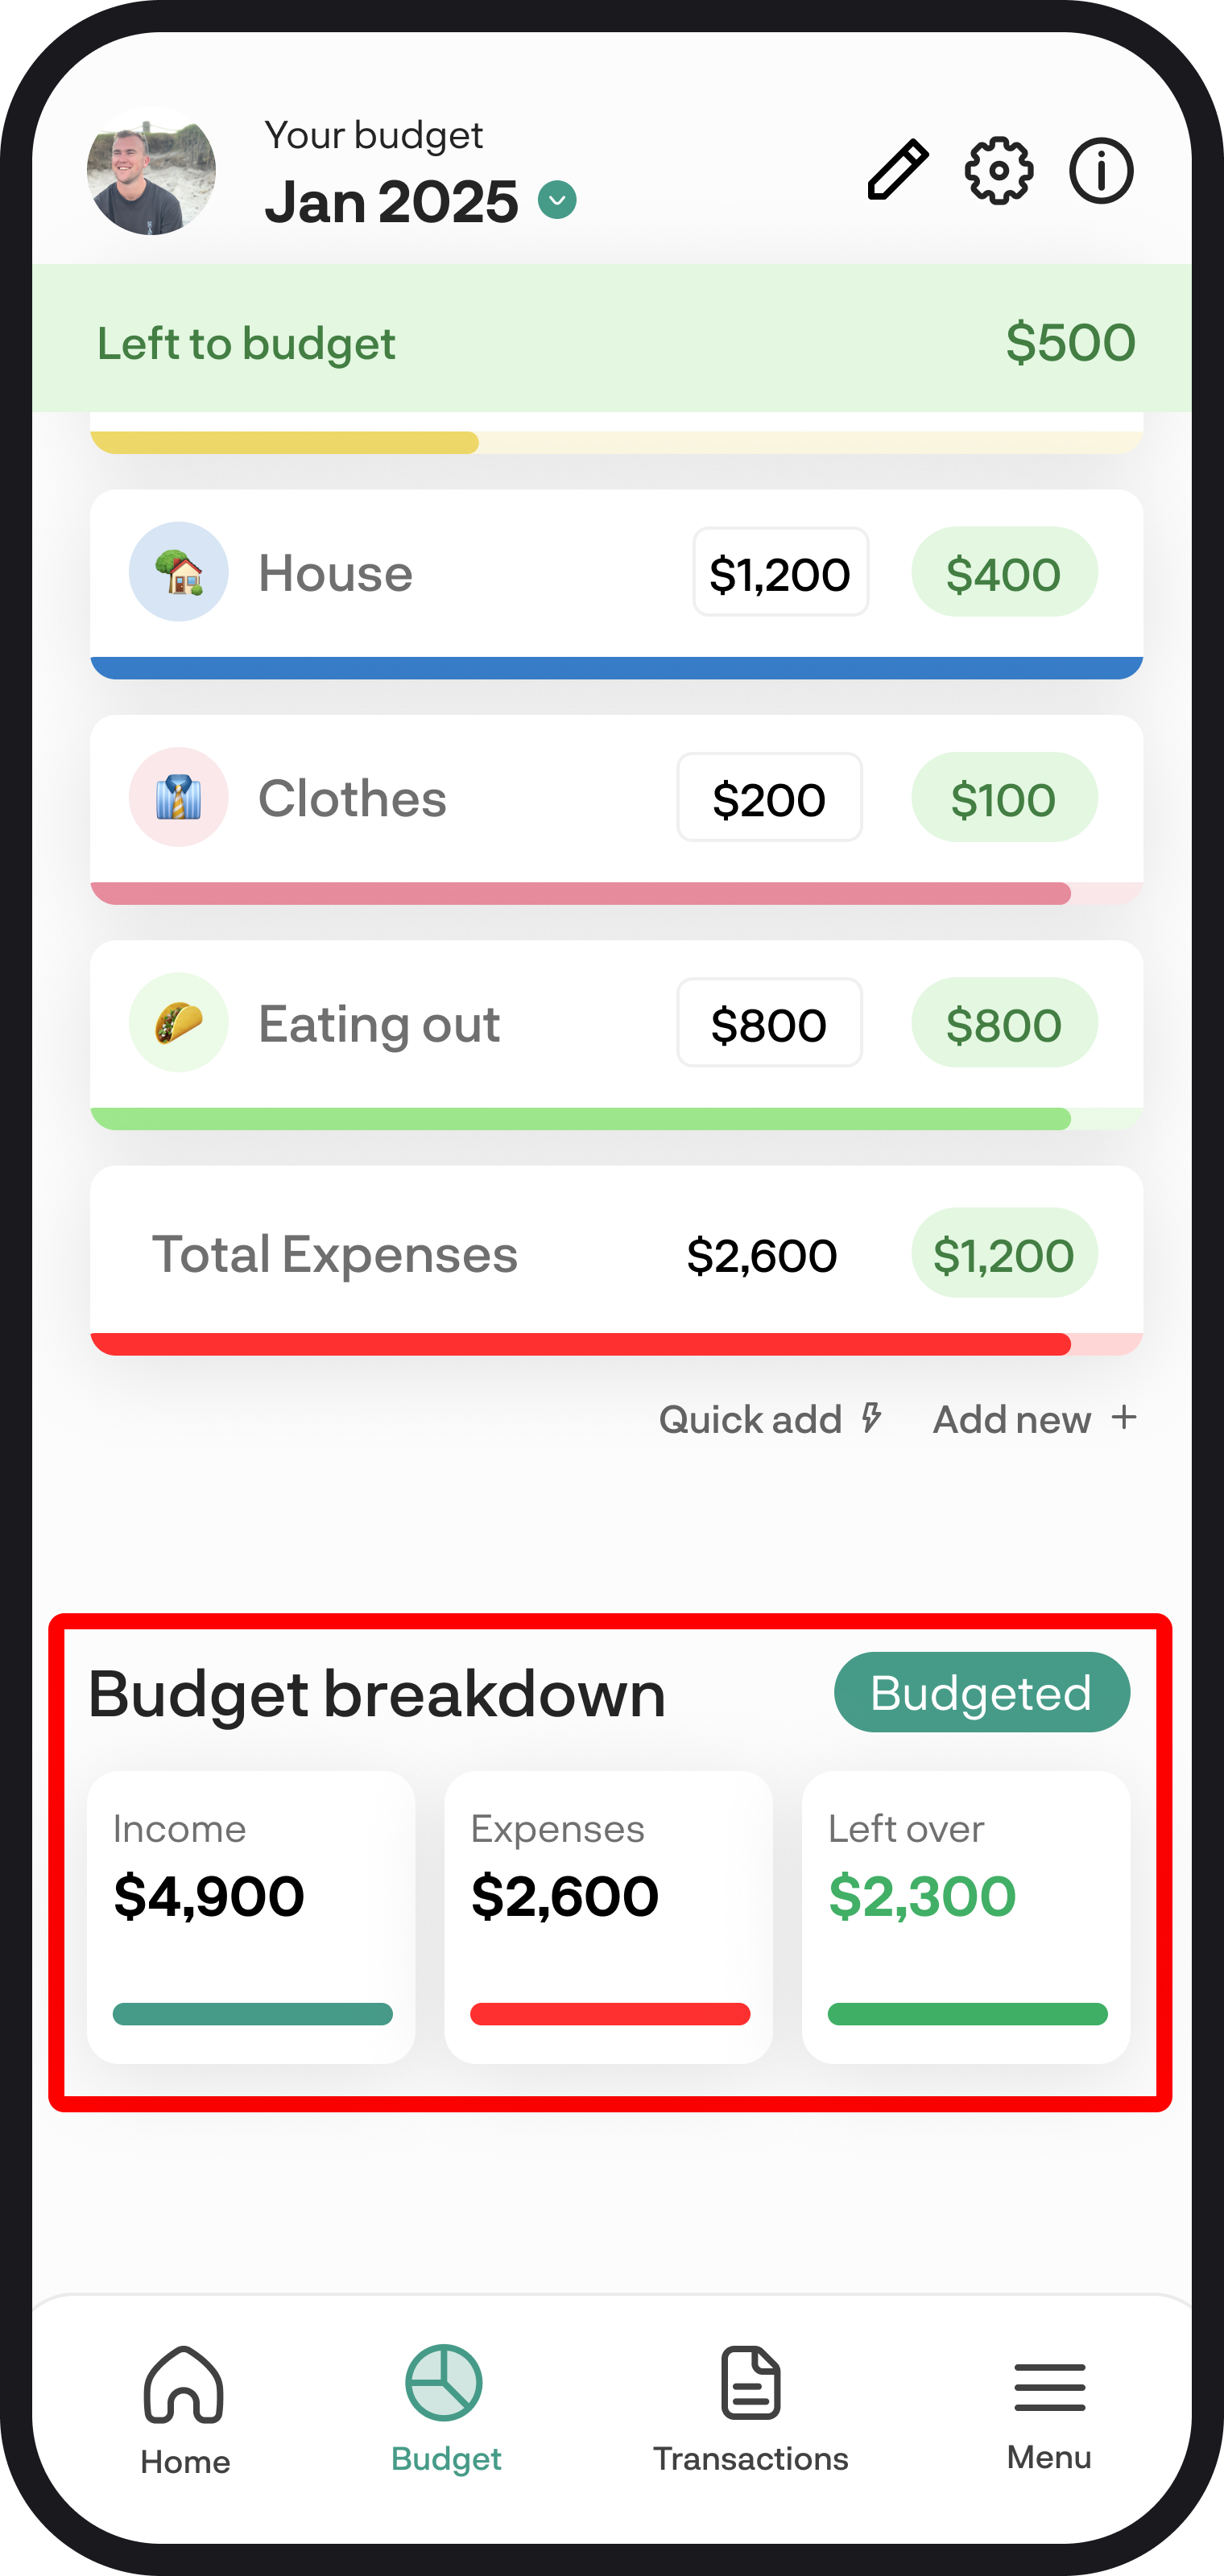
Once income and expense budgets are in, the breakdown shows total income, total expenses, and leftover. Tap the green control to switch between budgeted and actual.
If leftover is negative, look at the expense lines you can cut back. Use a one-off budget for spend that isn't part of your regular cycle.
Read Budget feature overview.
7. What to do next
Once the basics are in, you can go further:
- Set a goal - when you have a target date, like a house deposit or paying off a debt. Add a name, dollar value, target date, and frequency. Use $0 if it's a pay-off goal. Link accounts so the balance updates automatically. The card then shows whether you're On track, Behind, Off track, or Achieved. For a regular set-aside with no finish line, use a savings category instead. Read Goals feature overview
- Net worth - track what you own and owe month by month. Read Net worth feature overview
- Cashflow - forecast upcoming income and expenses from your budget. Read Cashflow feature overview
- Retirement planner - see what you might have left to live on
If you get stuck on a screen, tap the info icon in the top right to take that feature's tour again.
You're all ready to go 🎉
Woohoo! You now know how to get set up and get the most out of BudgetBuddie. If you run into any issues, feel free to get in touch with us at hello@budgetbuddie.co.nz