
How to create an expense budget
How to create an expense budget
Track every penny of your expenses by setting up an expense budget. In this guide, we'll walk you through all the ins and outs of how to set up an expense budget.
1. A quick summary
Expense budgets are to be created for any regular expenses, like your groceries for example. Once you set up an expense budget, you can use the category for the budget for categorising merchants & transactions. Categorising expense transactions allows you to then track your actual spend vs what you've budgeted, along with bringing a lot of the other features and widgets to life throughout the app.
2. Adding an expense budget
To add an expense budget, you can either use quick add or the add new buttons. Quick add allows you to simply select a category and enter your amount to create the budget, then the normal add new function allows you to add further details like colours and emojis. If you've connected your accounts, when you create a budget using a default category we'll automatically calculate and populate the budget amount for you. If you like, you can edit this value to suit your preferences. You can also choose whether to make it a rollover budget, so any unspent amount or overspend carries into the next period.

3. Quick add
To use quick add, simply tap the quick add button with the lightning bolt and you'll then see a new budget tile added. Now tap on the category selector, select your category and then your budget is created. All you need to do now is enter the monthly budget amount.

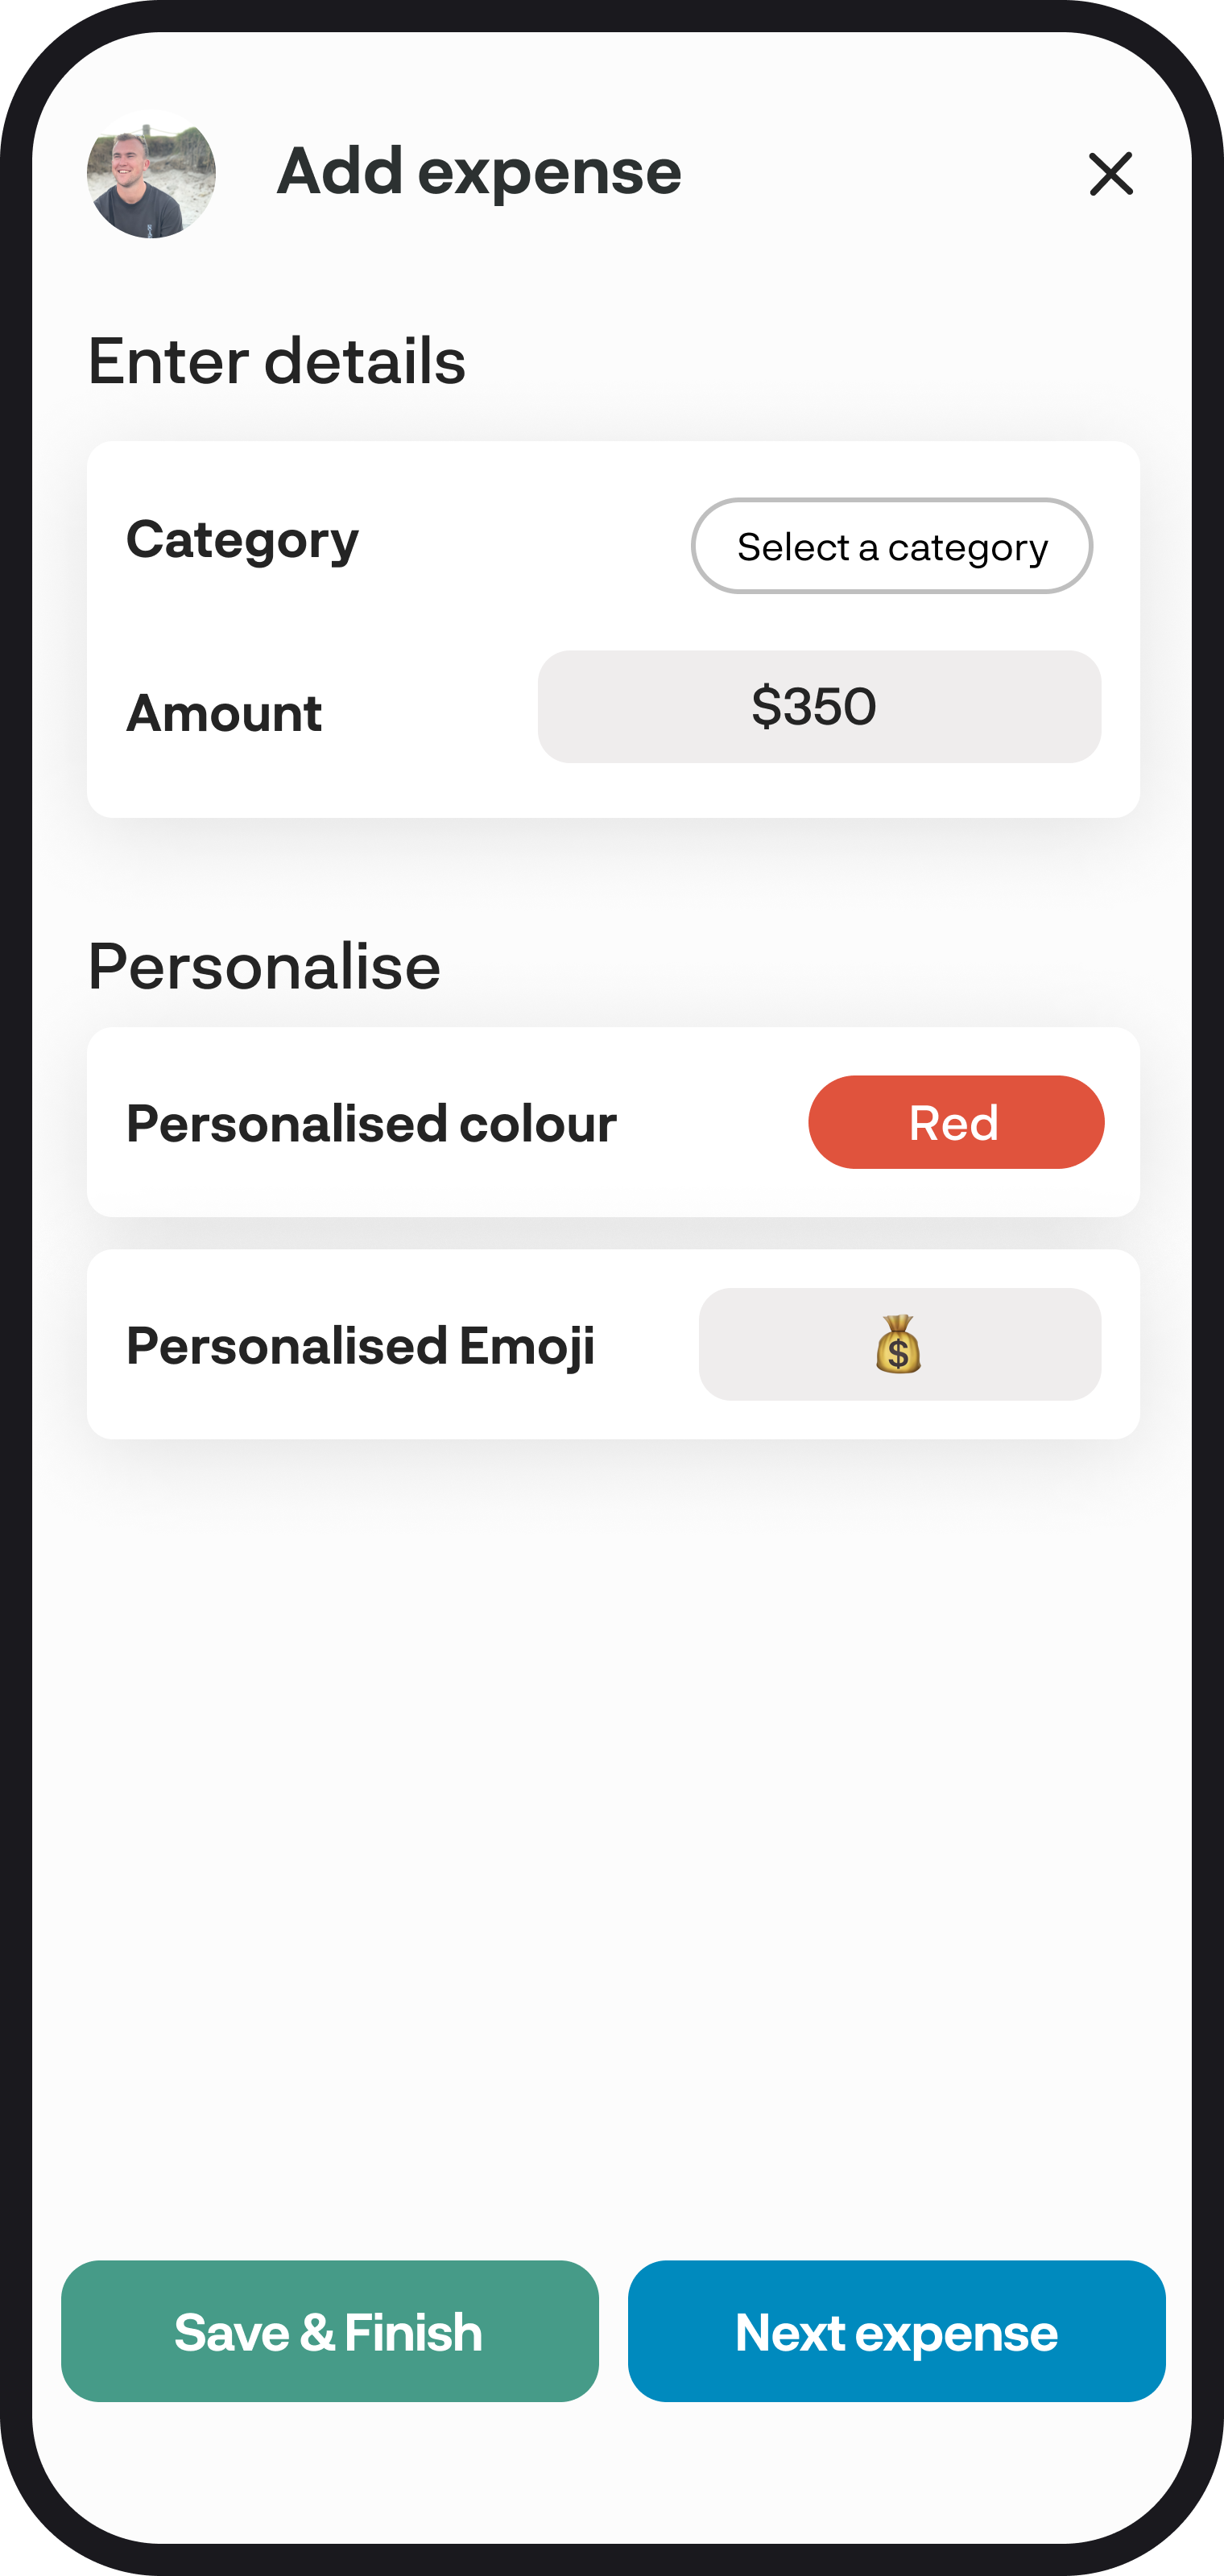
4. Personalise
Once you've entered your details using the 'Add new' option, you can personalise your budget by adding a colour and emoji. Simply tap on the colour button to show the colour selector. Once you've selected a colour, you can add an emoji by tapping the grey input field.

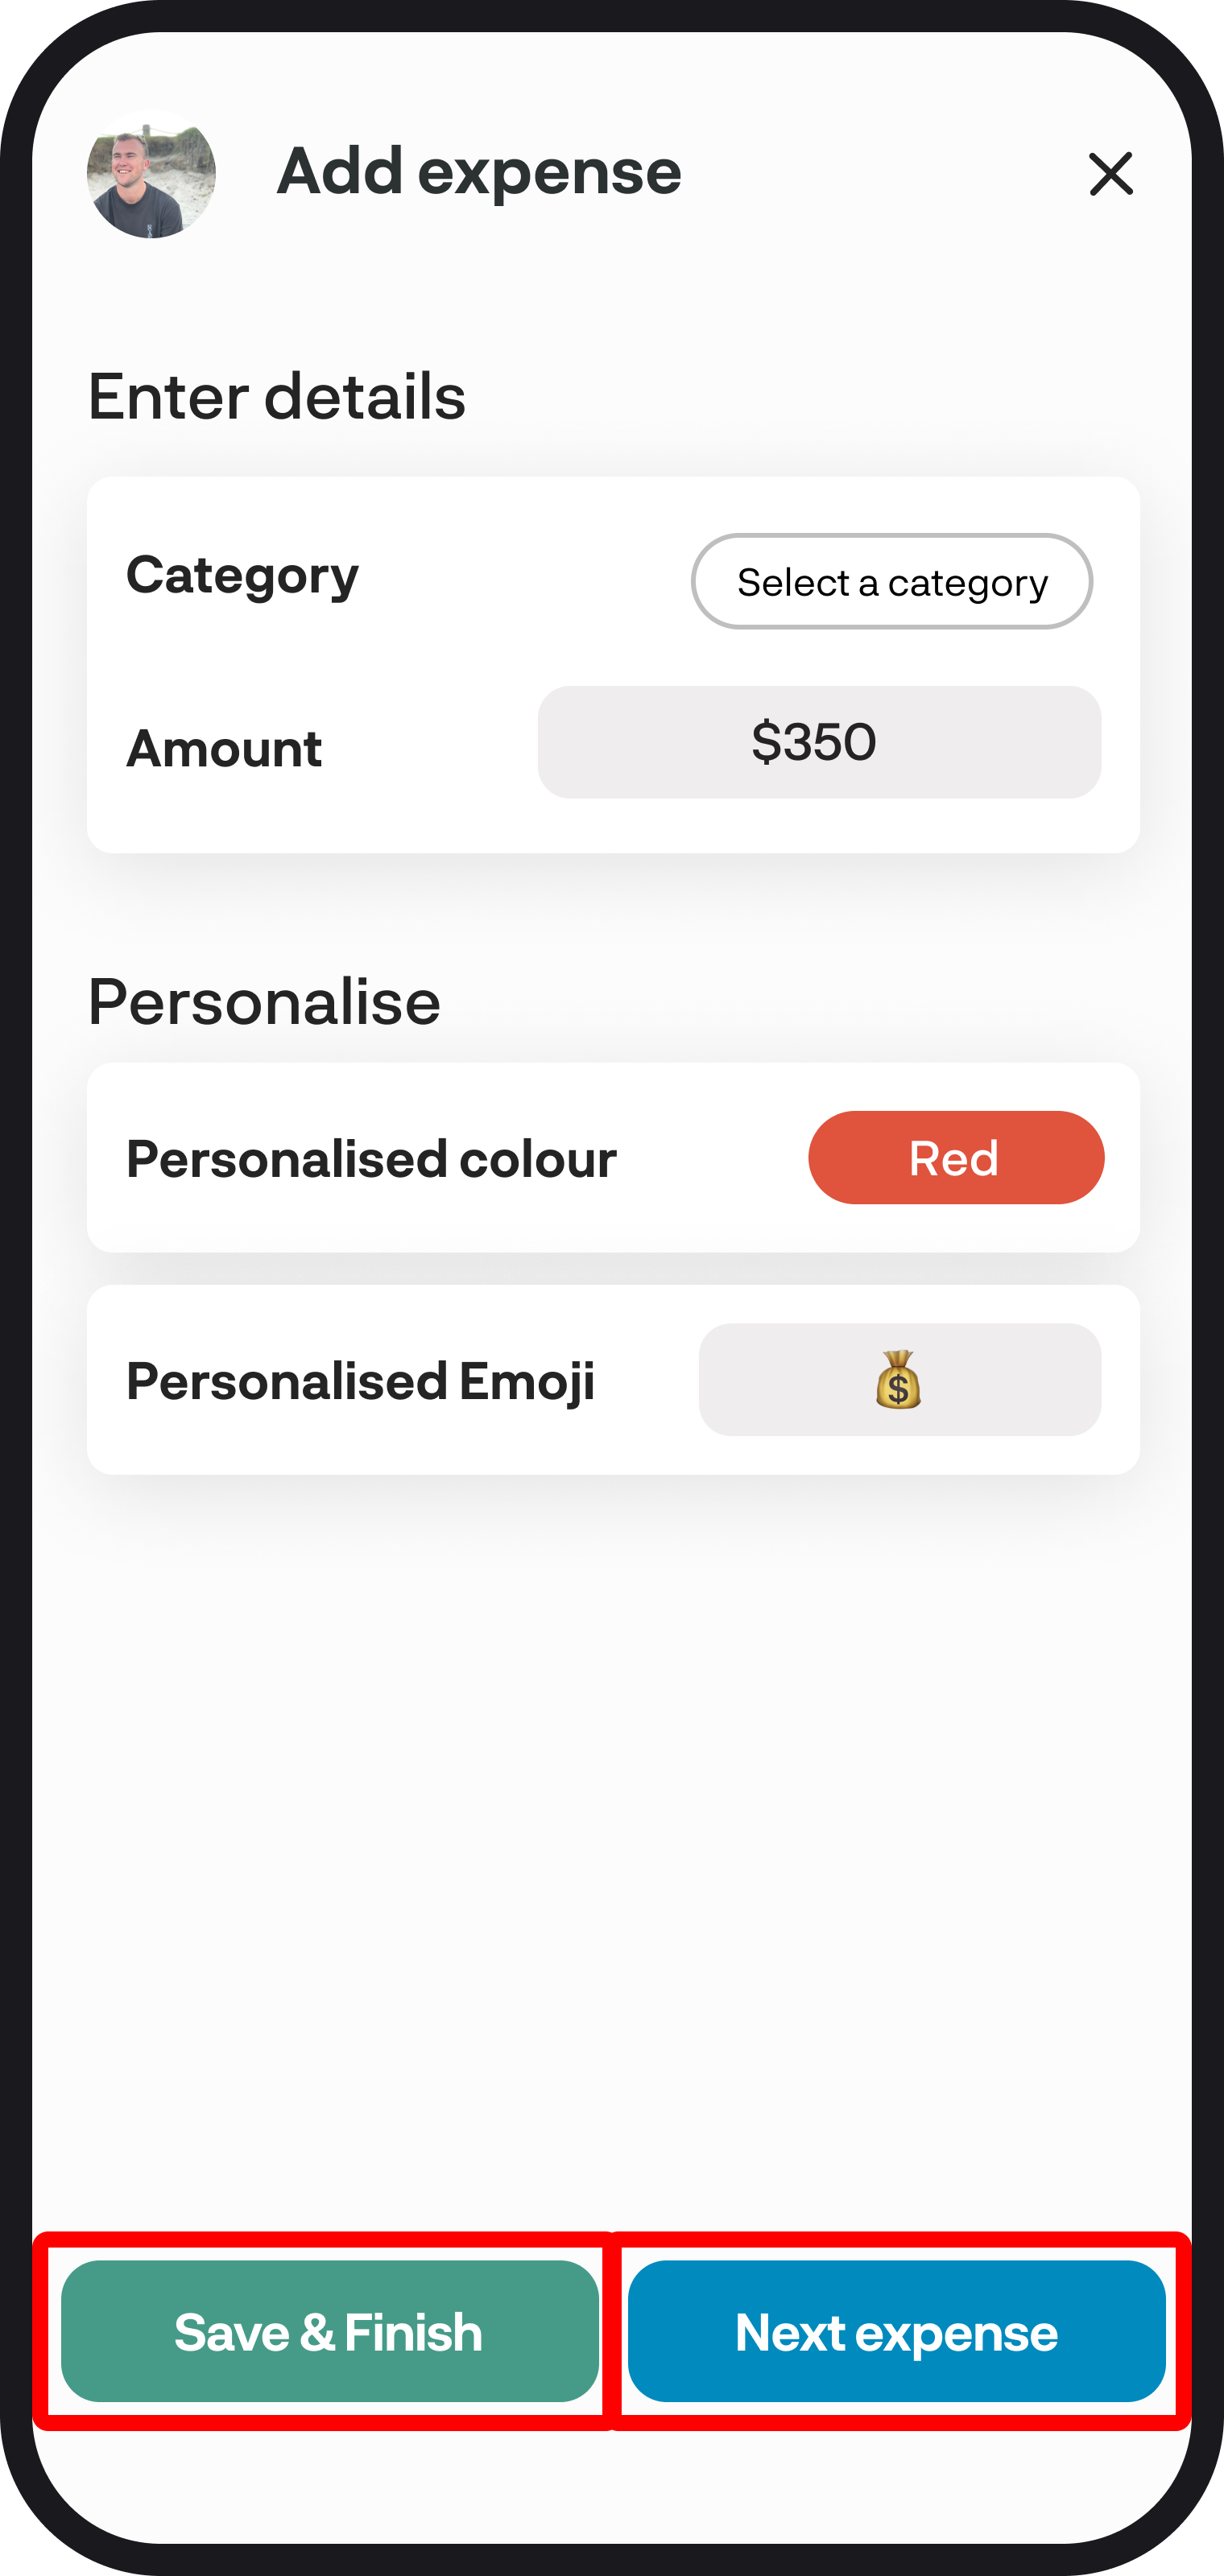
5. Save & Finish or Next expense
Now that you've entered all your details and personalised your expense budget, you can choose to save and finish, or if you have another expense budget to add, you can select the next expense. Save & finish will bring you back to the budget summary screen, while next expense will save your budget and then allow you to add another.
You're all ready to go 🎉
Woohoo! You've just set up an expense budget. If you run into any issues while setting everything up, feel free to get in touch with us at hello@budgetbuddie.co.nz.