How to create, edit & delete categories

How to create, edit & delete categories
You can create any expense or income category you like with BudgetBuddie, here in this guide, we'll run you through every step on how to create, edit, and delete your categoriesn used for transactions & merchants.
1. Creating categories
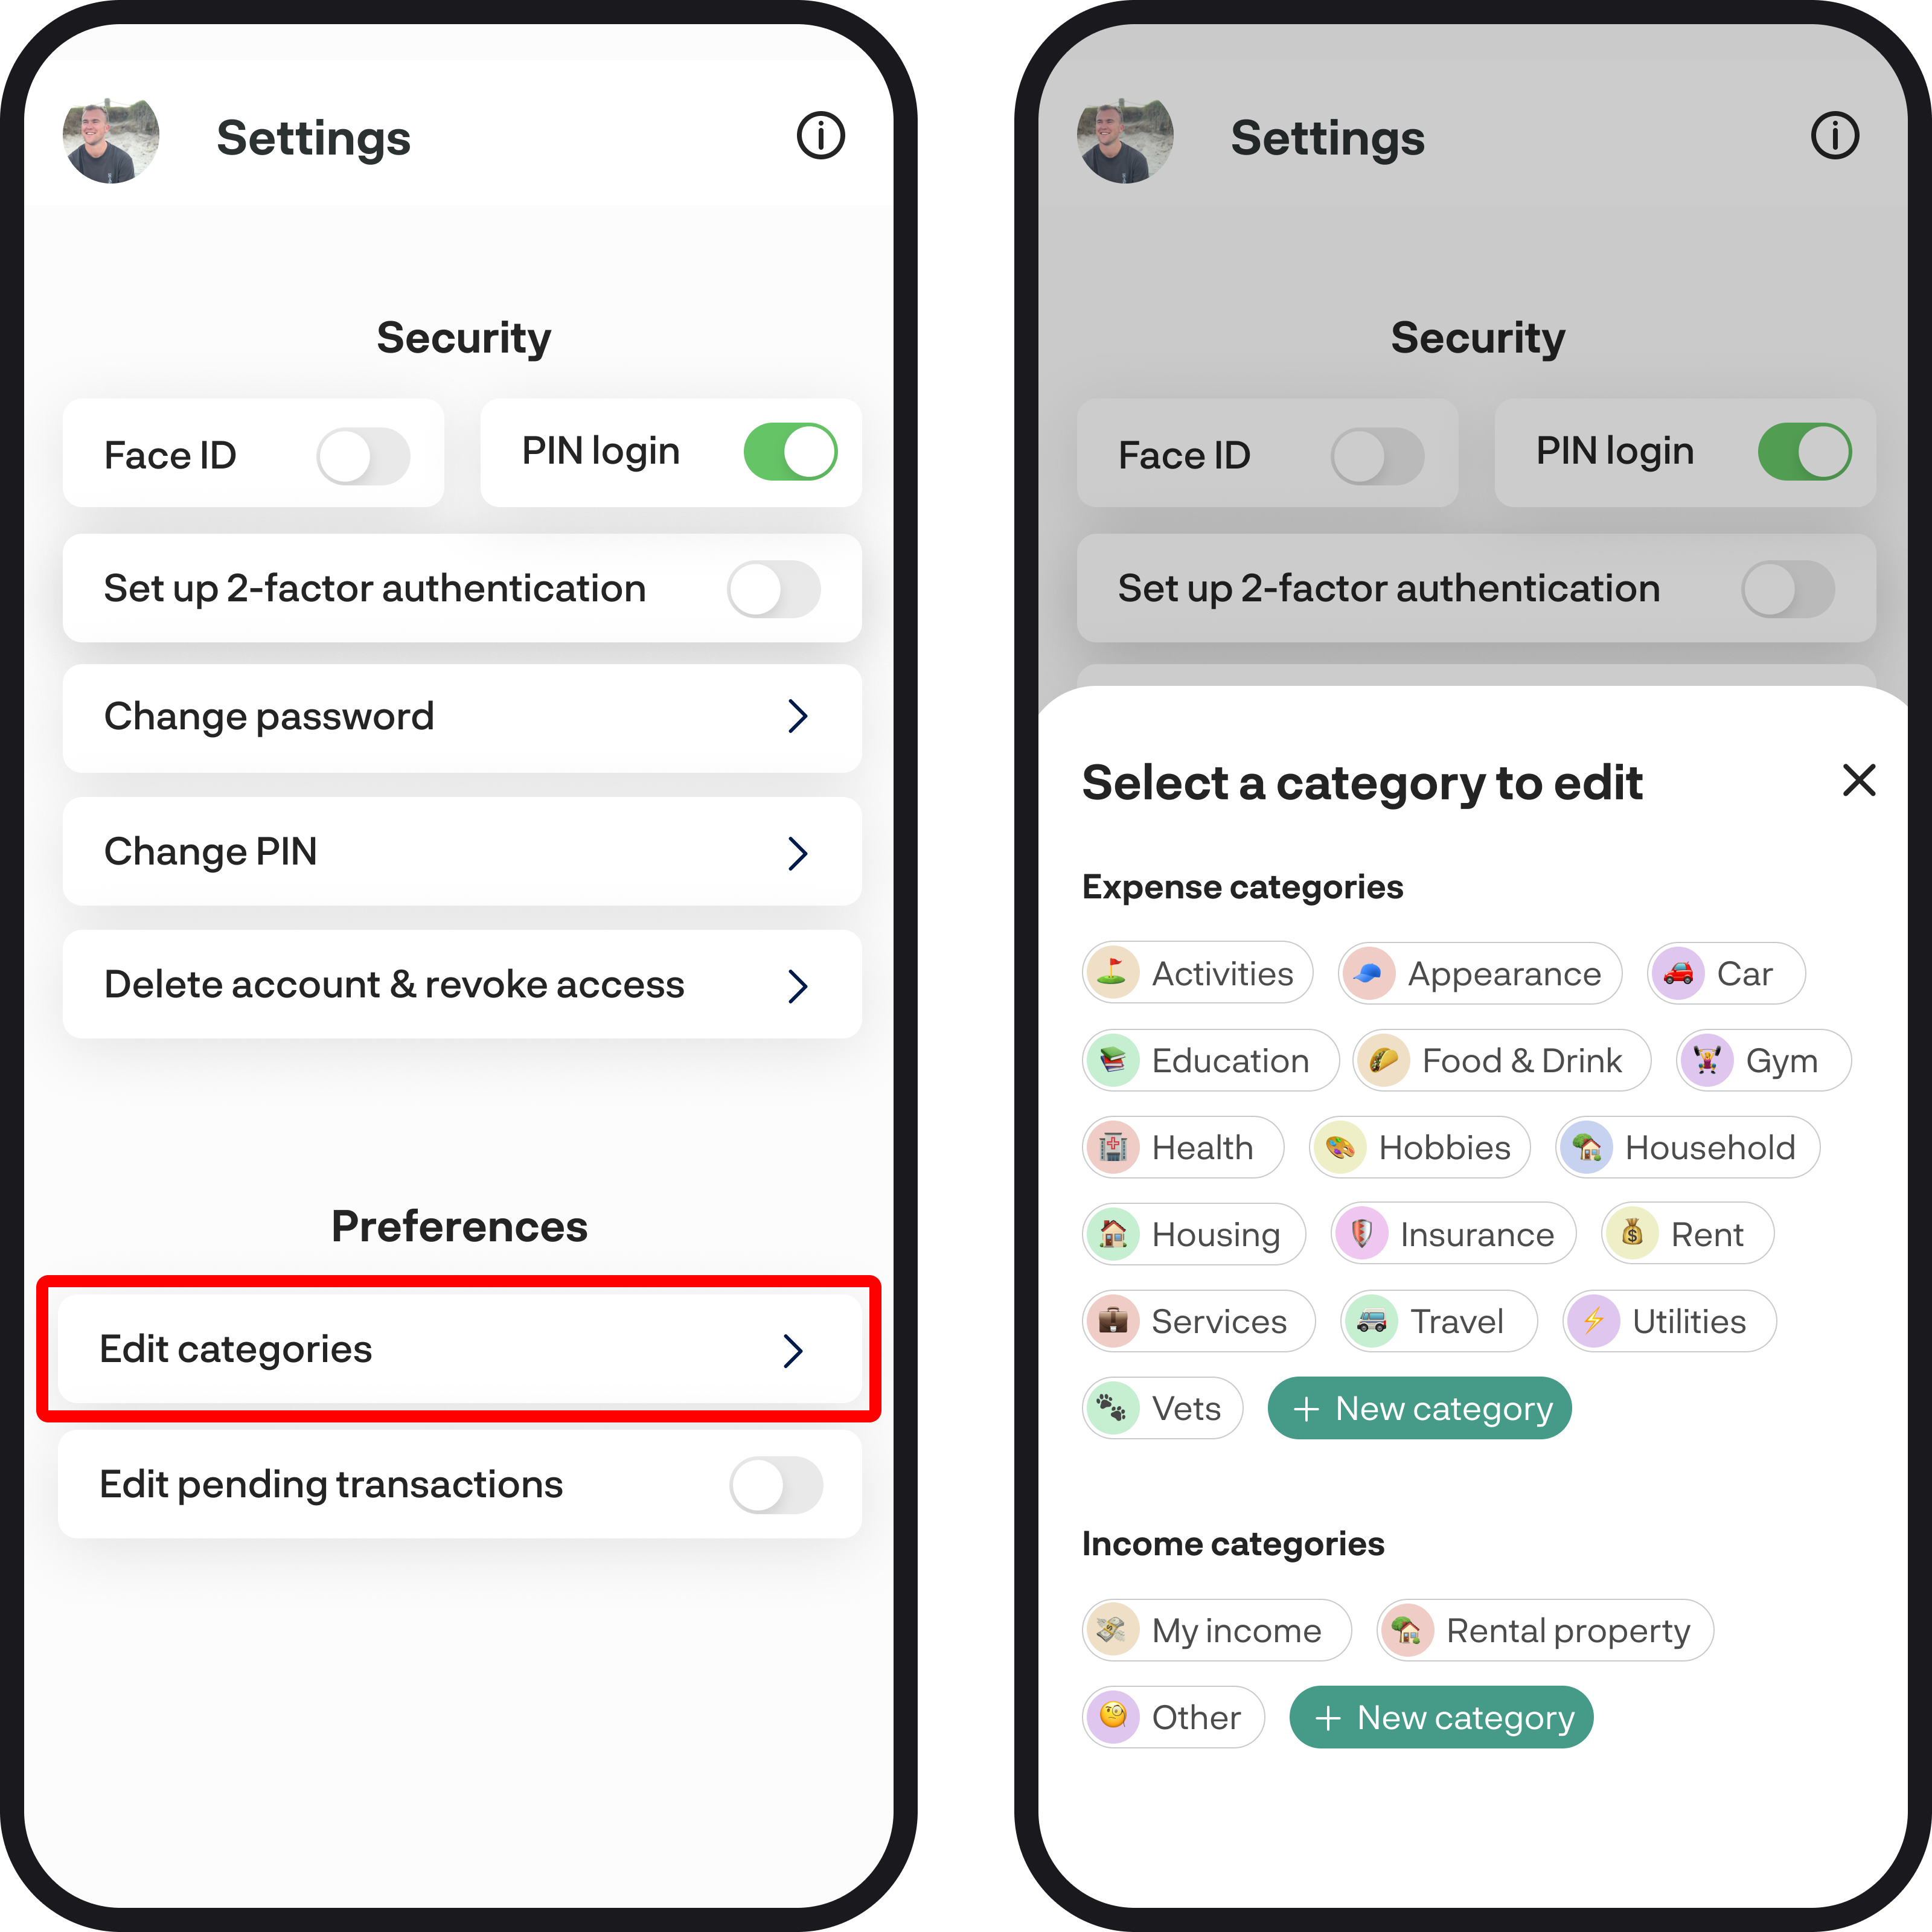
The best way to create a new category is by navigating to the settings feature and selecting 'Edit categories', you can then select the green 'New category' button as below to create a new category. If you tap on that, a new screen will appear, which will allow you to create a new income or expense category depending on what category you want to add.

2. Editing & deleting categories
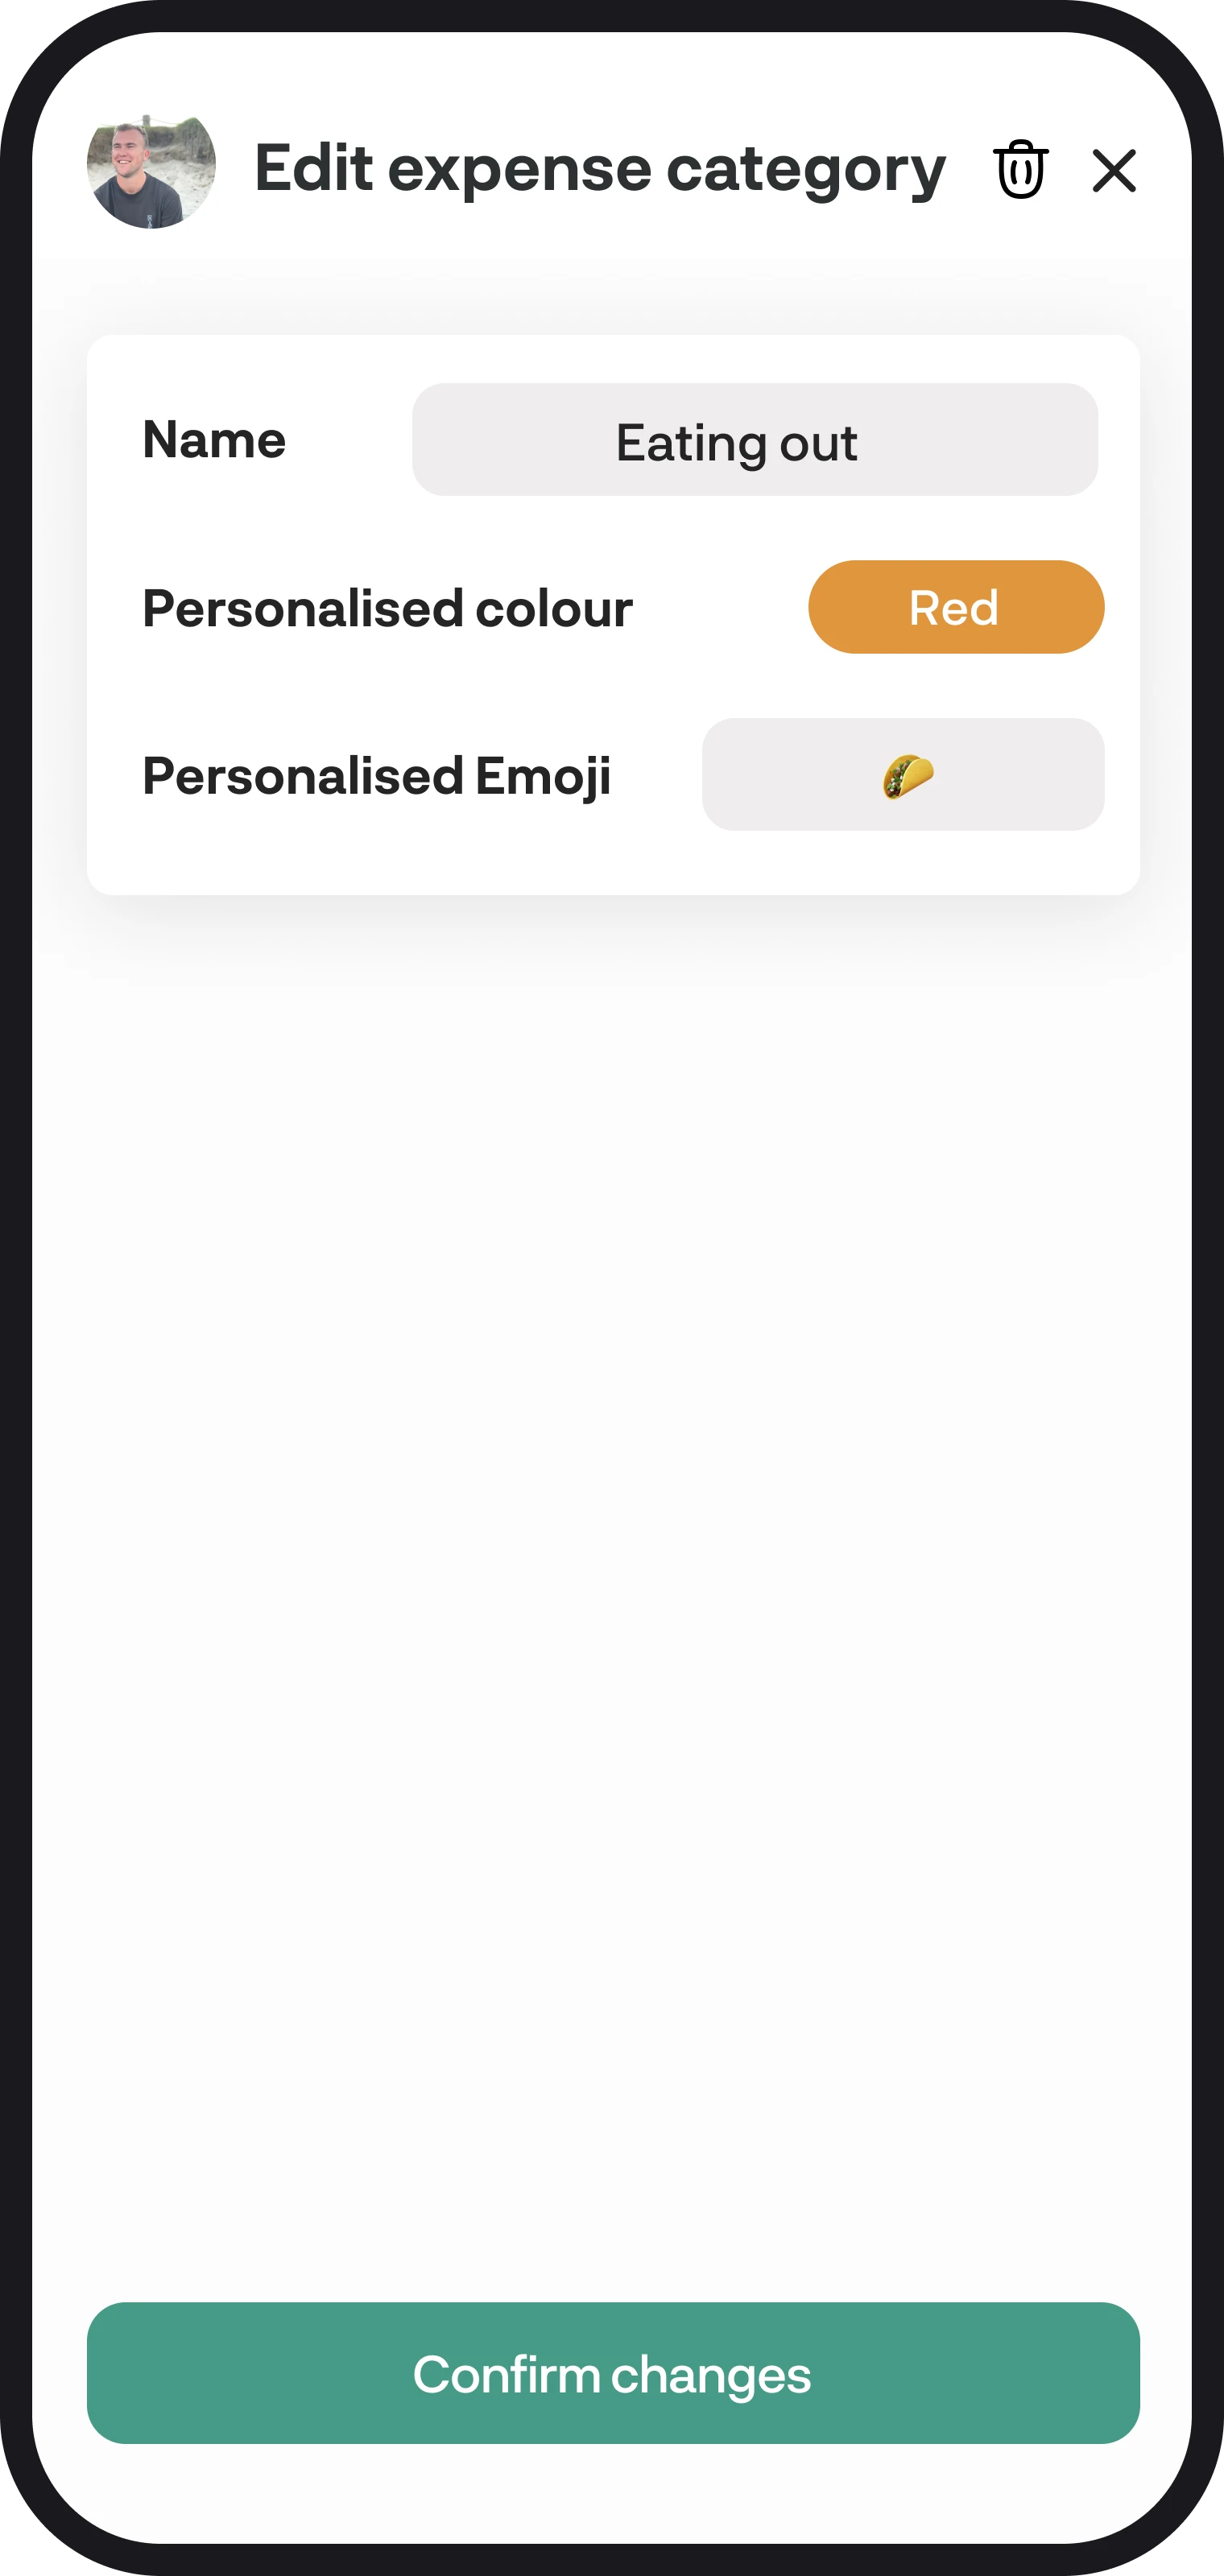
Just like creating categories, you can navigate to settings and select the 'Edit categories' option. You can then select any category to open the category details screen where you can edit the details. When editing category details, you can only edit the colour and emoji for default categories but for custom categories that you create, you can edit any of the details. You can ready more on what a default category is by clicking here.
To delete a category, simply select the delete icon in the top right corner, once you delete a category it will remove that category from all transactions.

You're all ready to go 🎉
Woohoo! You're all set up and have a good understanding on how to create, edit, and delete categories. If you run into any issues while getting everything set up, feel free to get in touch with us at hello@budgetbuddie.co.nz
